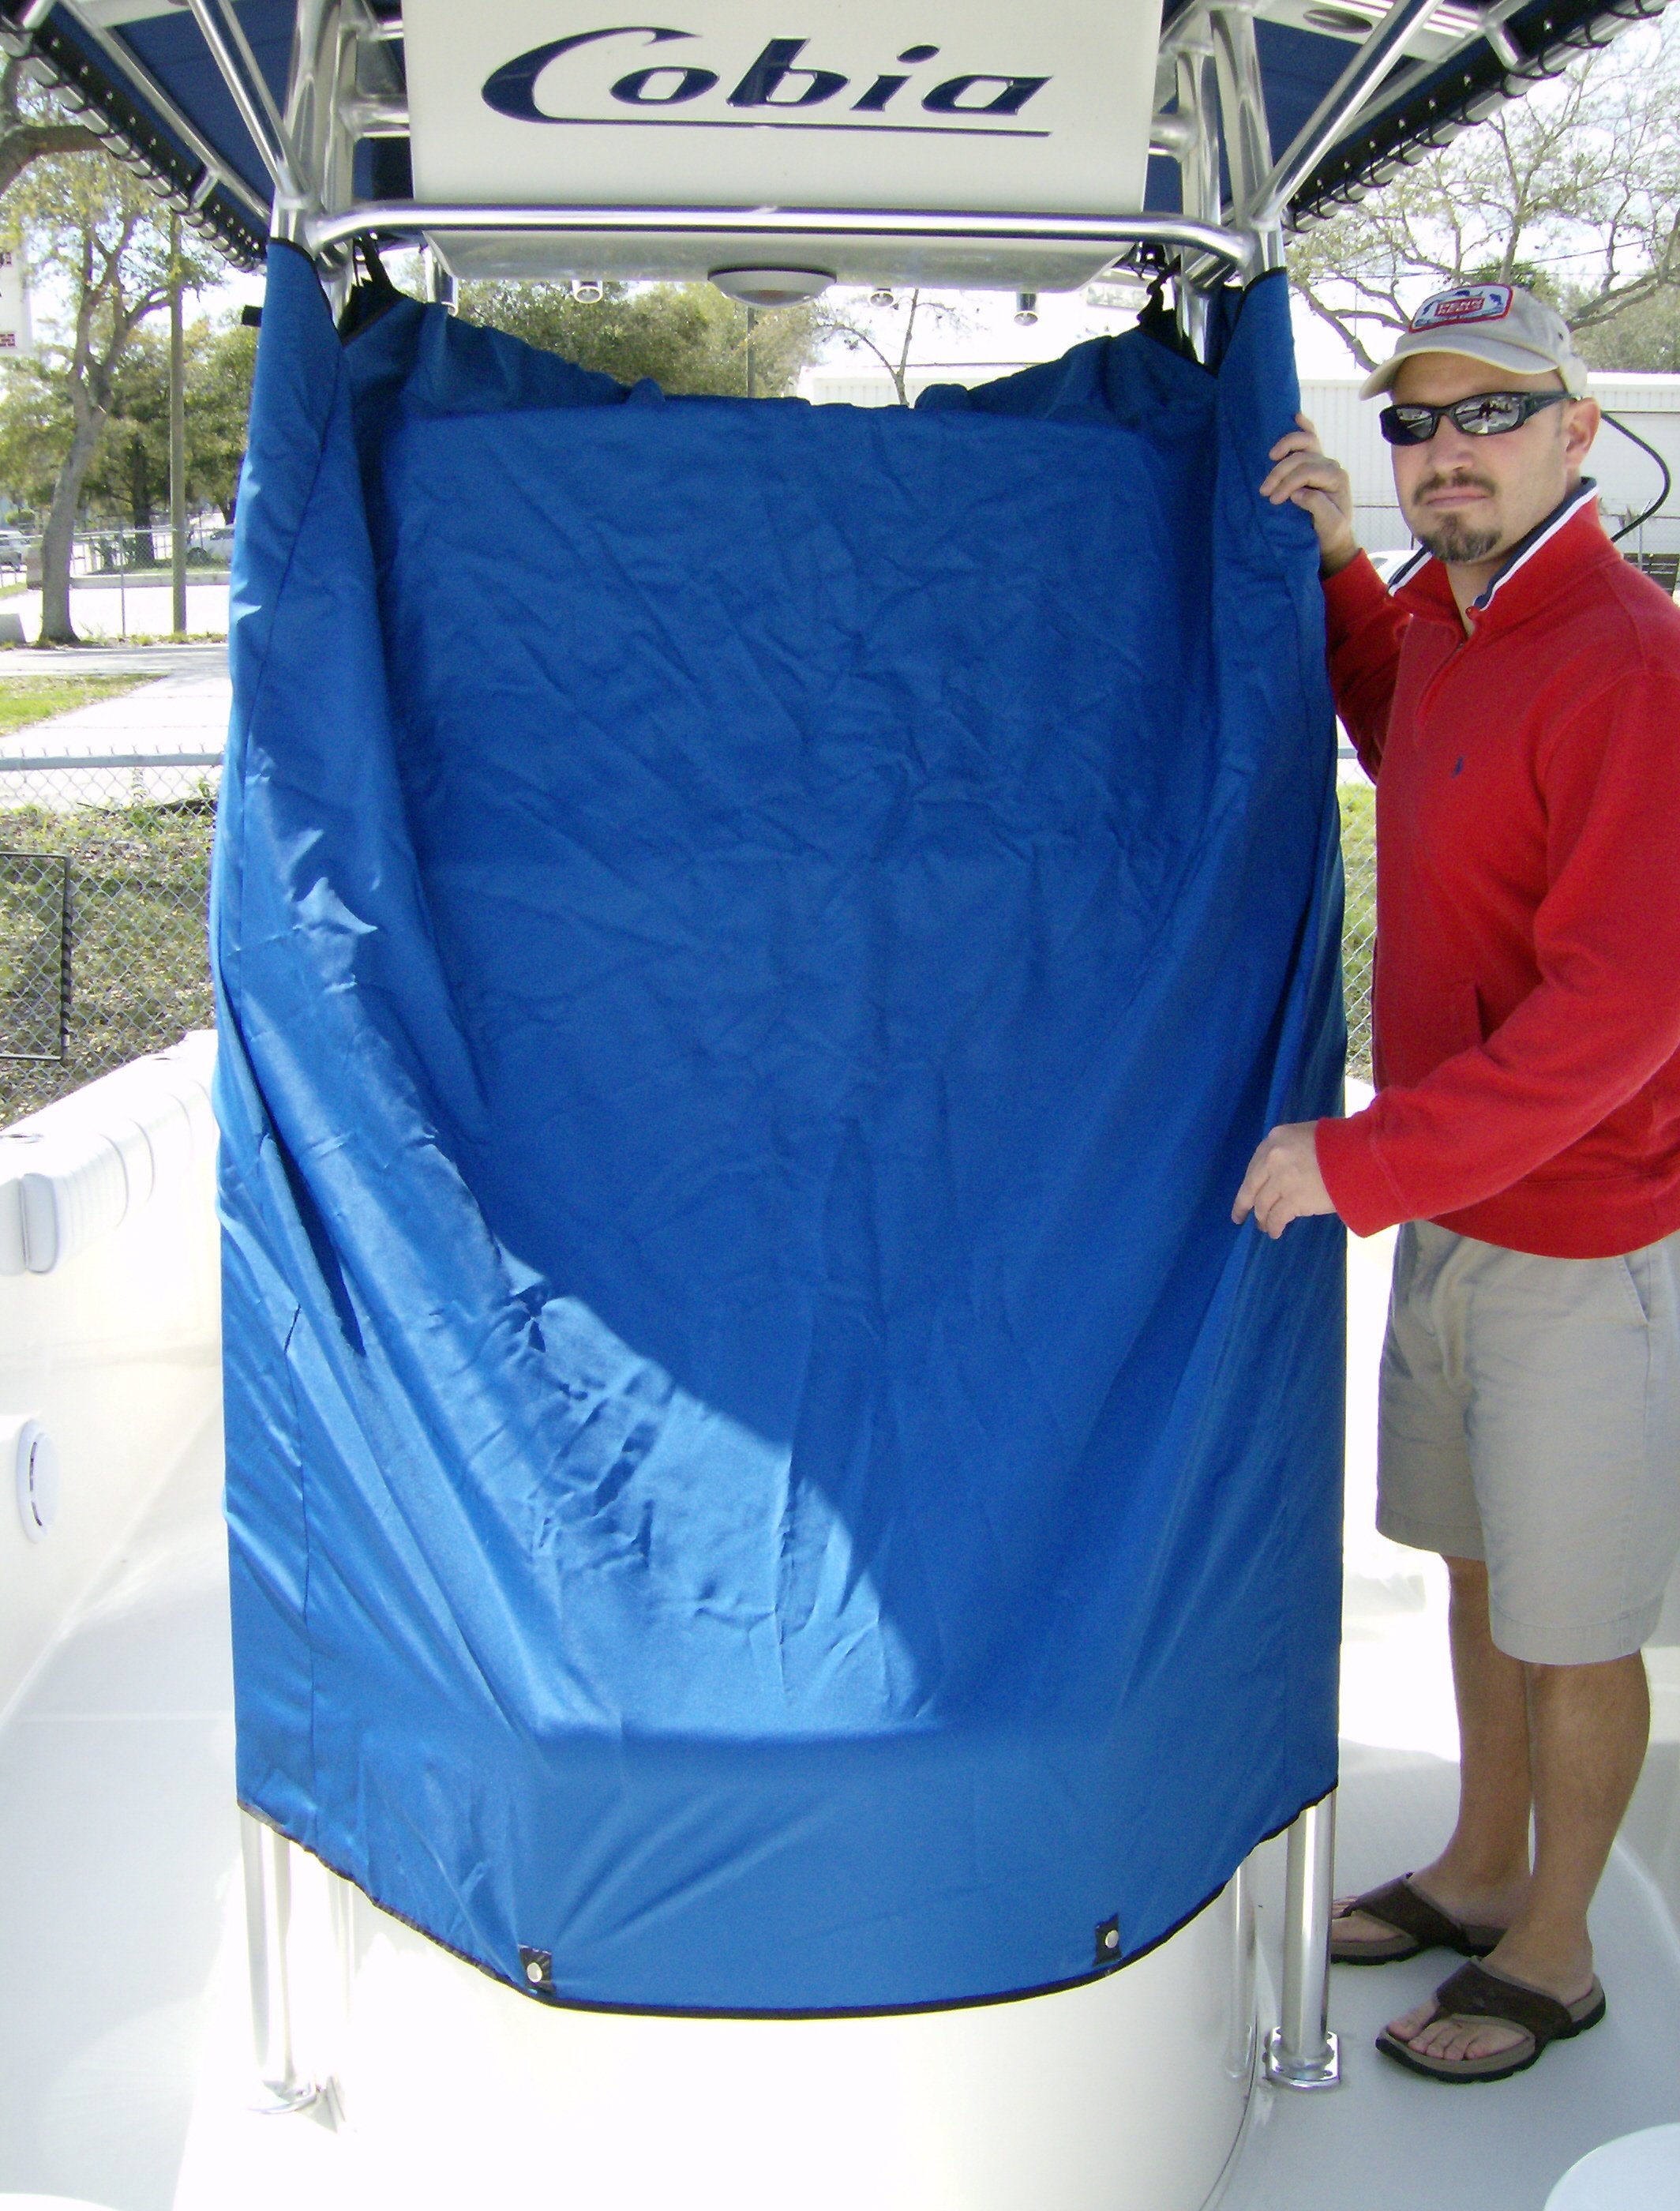
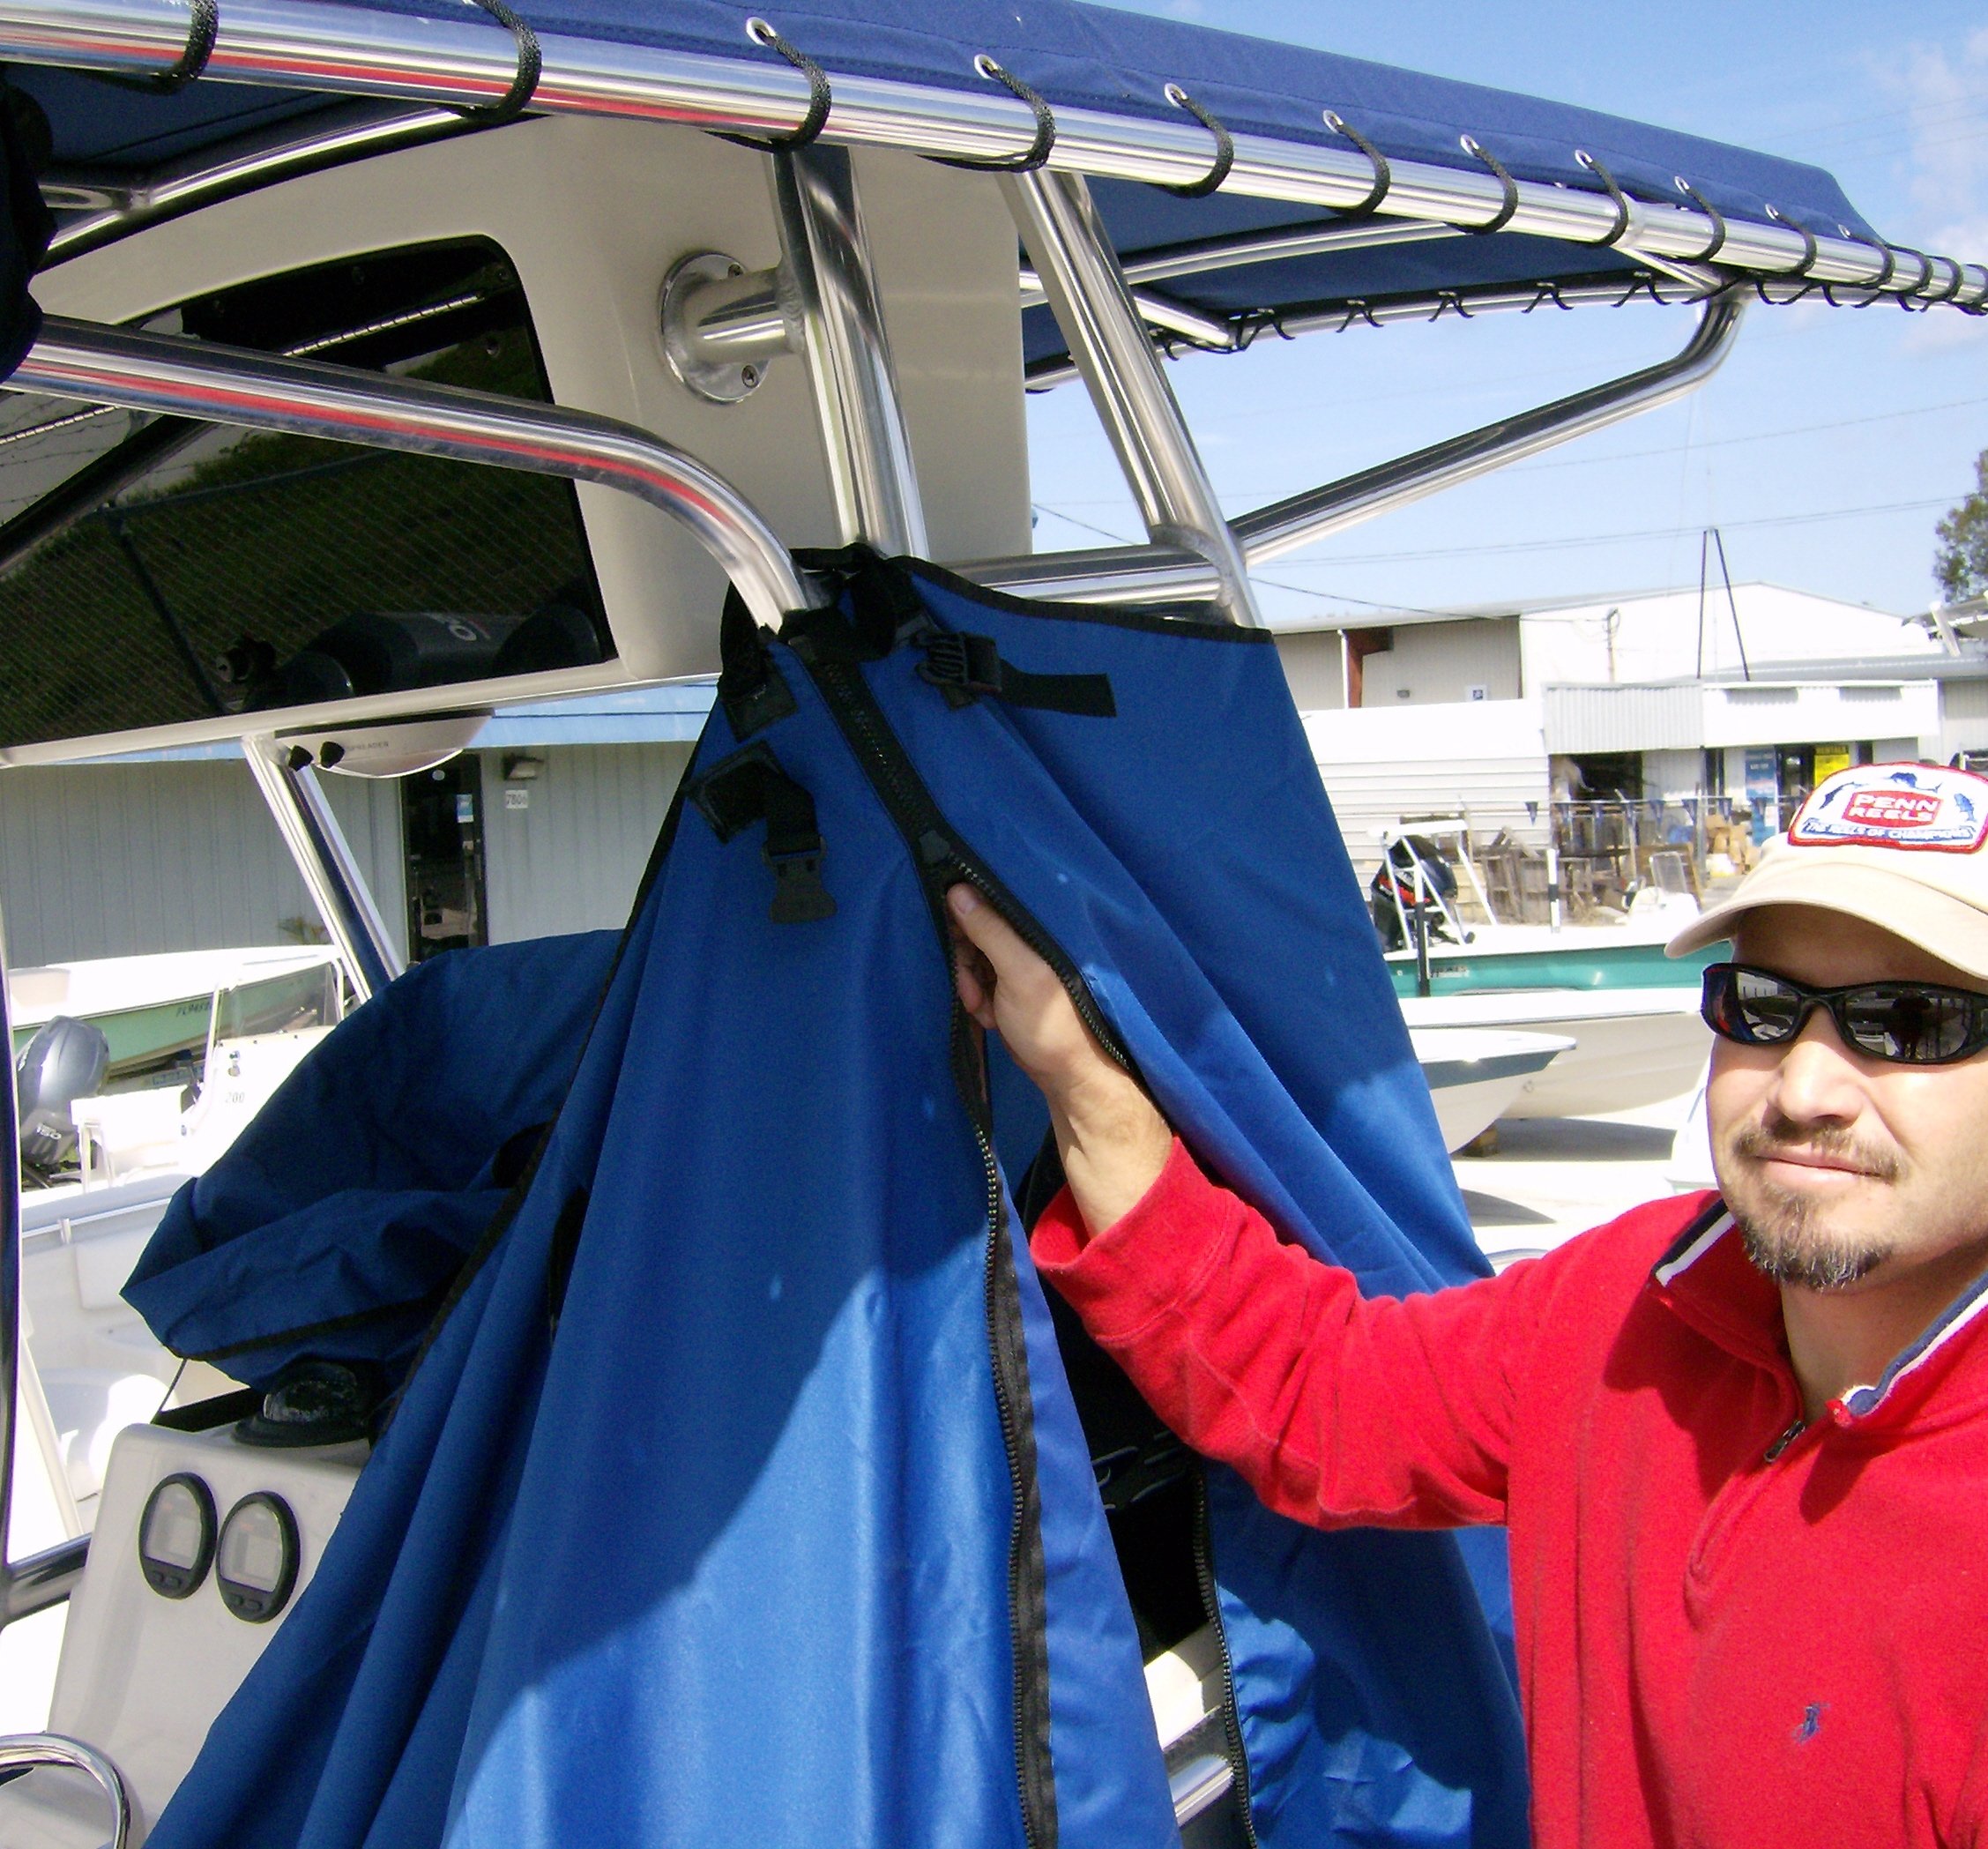
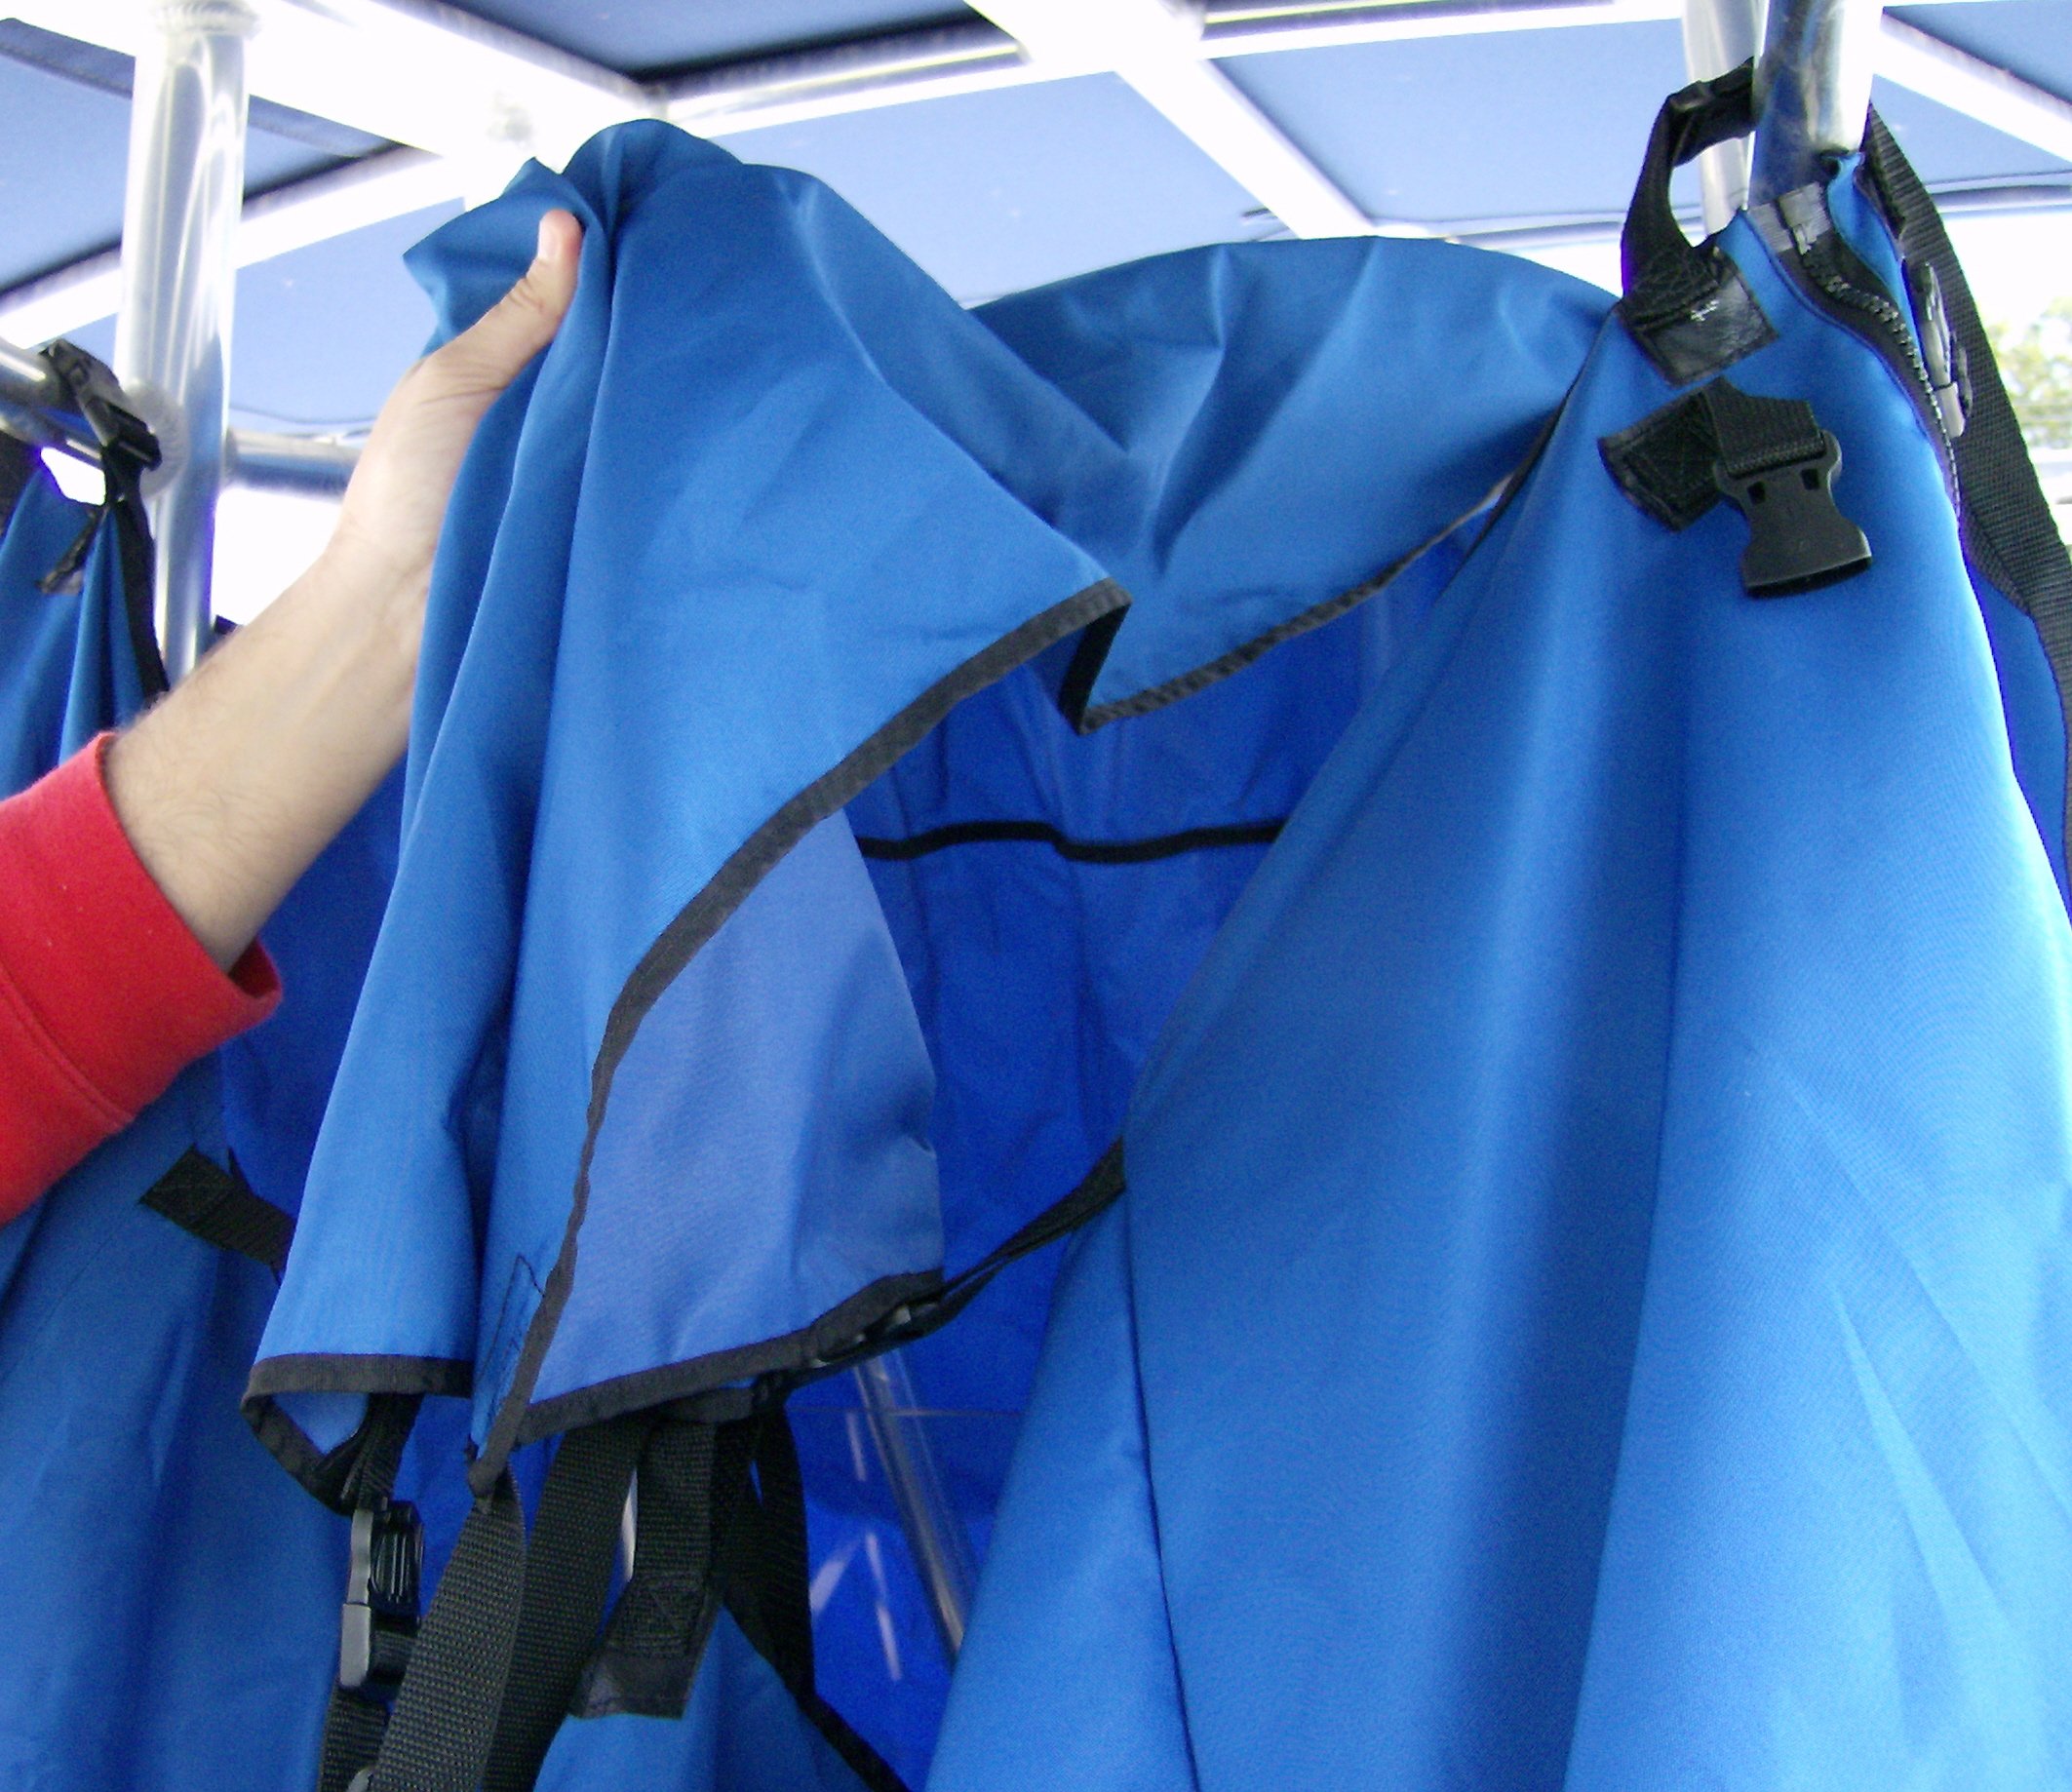
2. INSTALL YOUR COVER. Find the two topside adjustable straps, (there is one topside strap on each side panel). Each strap has a
snap lock release buckle. Start by hanging one side of the cover from the overhead T-Top cover structure. After hanging one side, hand the
other side. Allow the cover to hang down from the T-Top structure above the console. The adjustable straps will allow up and down adjustment
until the bottom hem just reaches the deck. The straps, once adjusted, will allow the user to quickly re-hang the cover at the correct height
without any further adjustment.


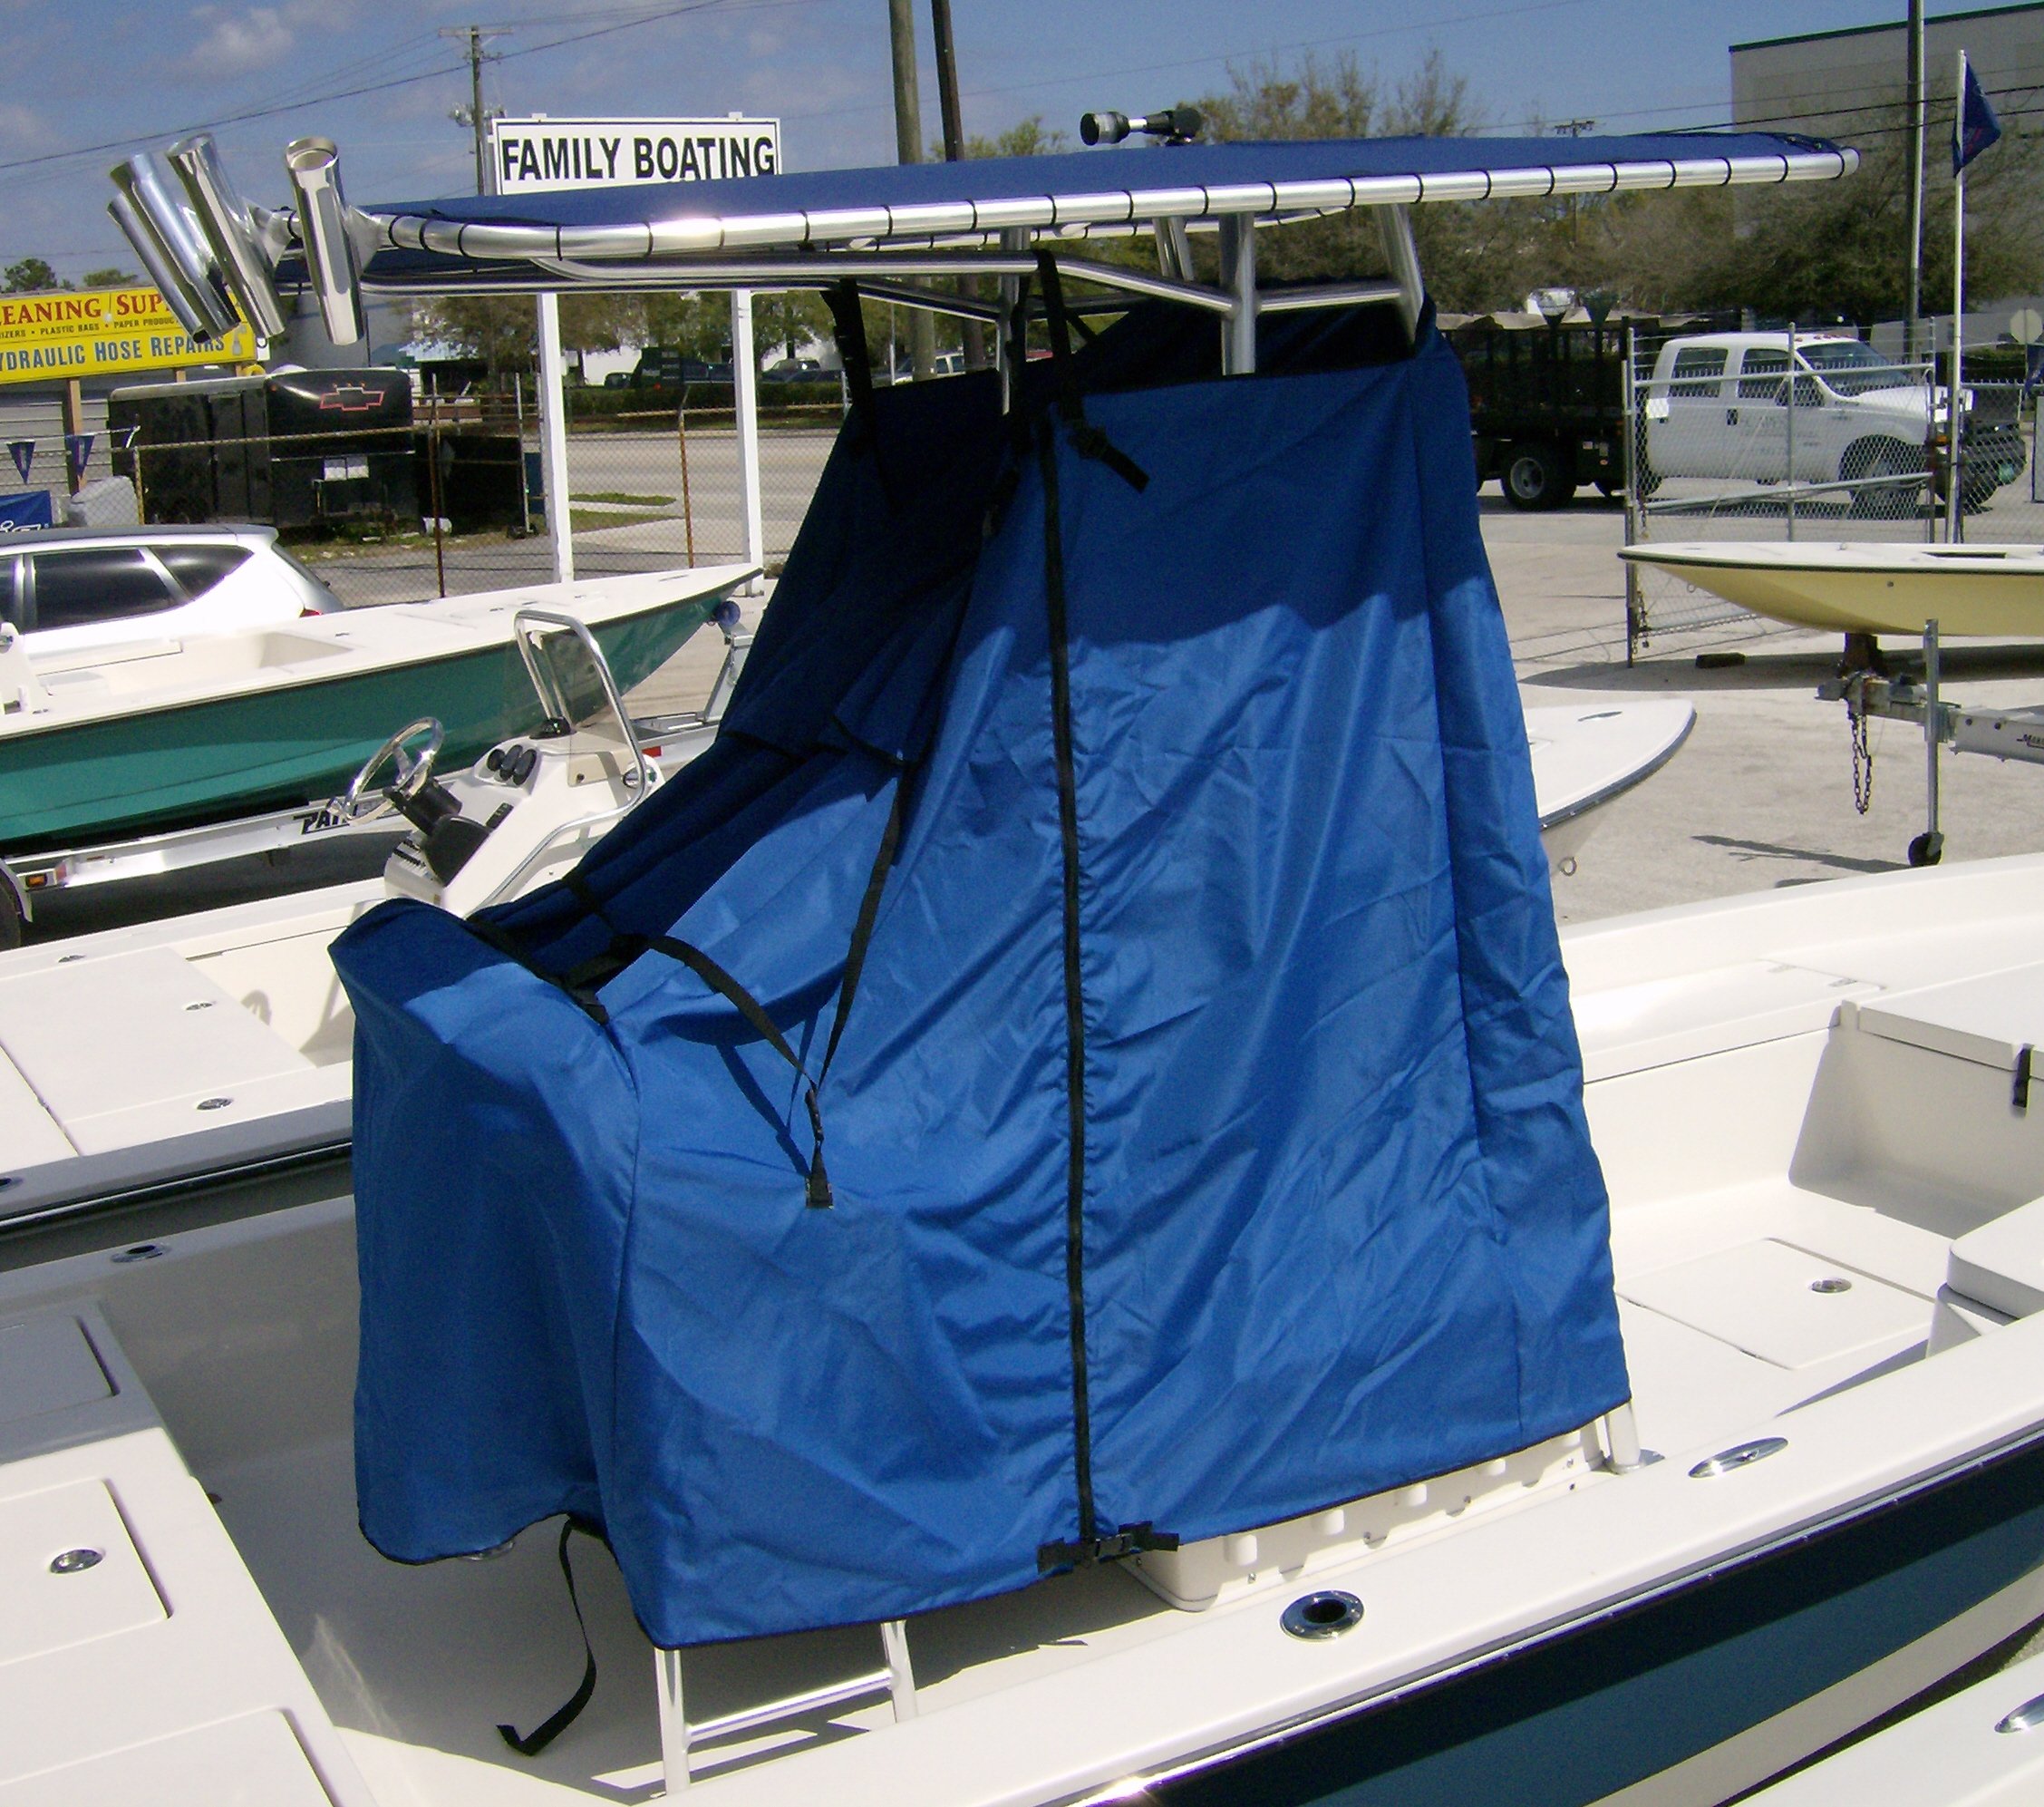
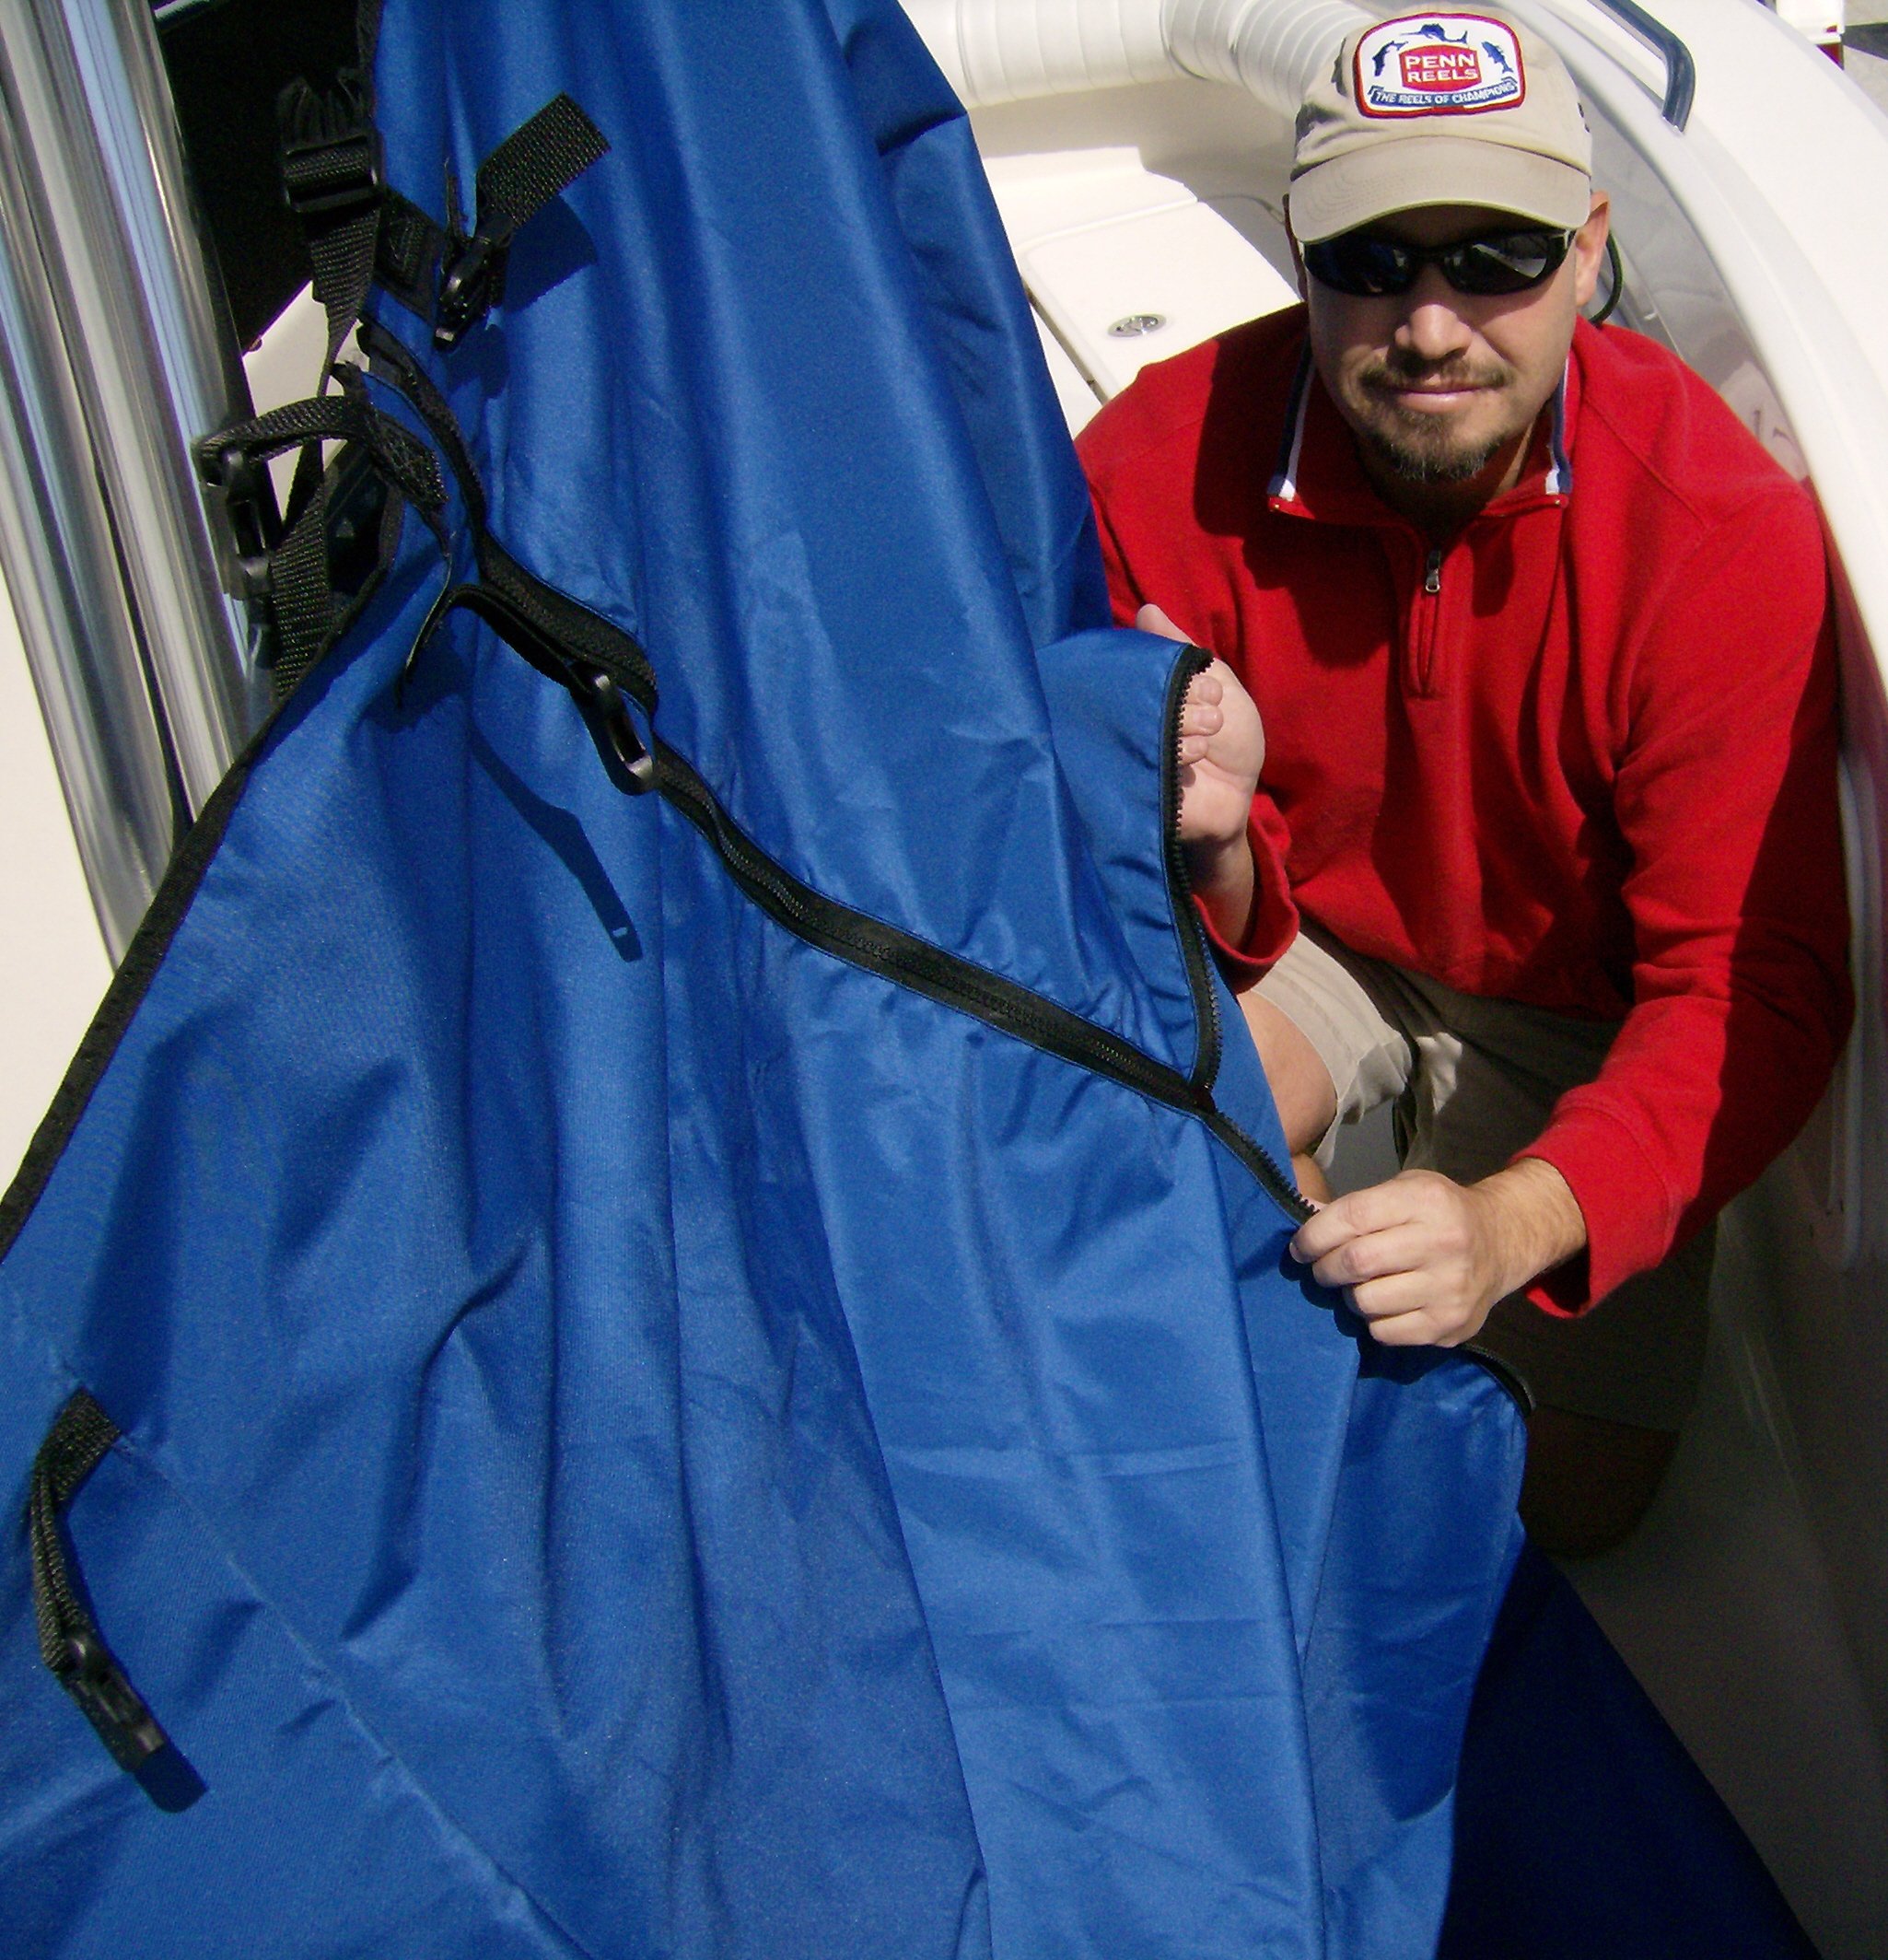
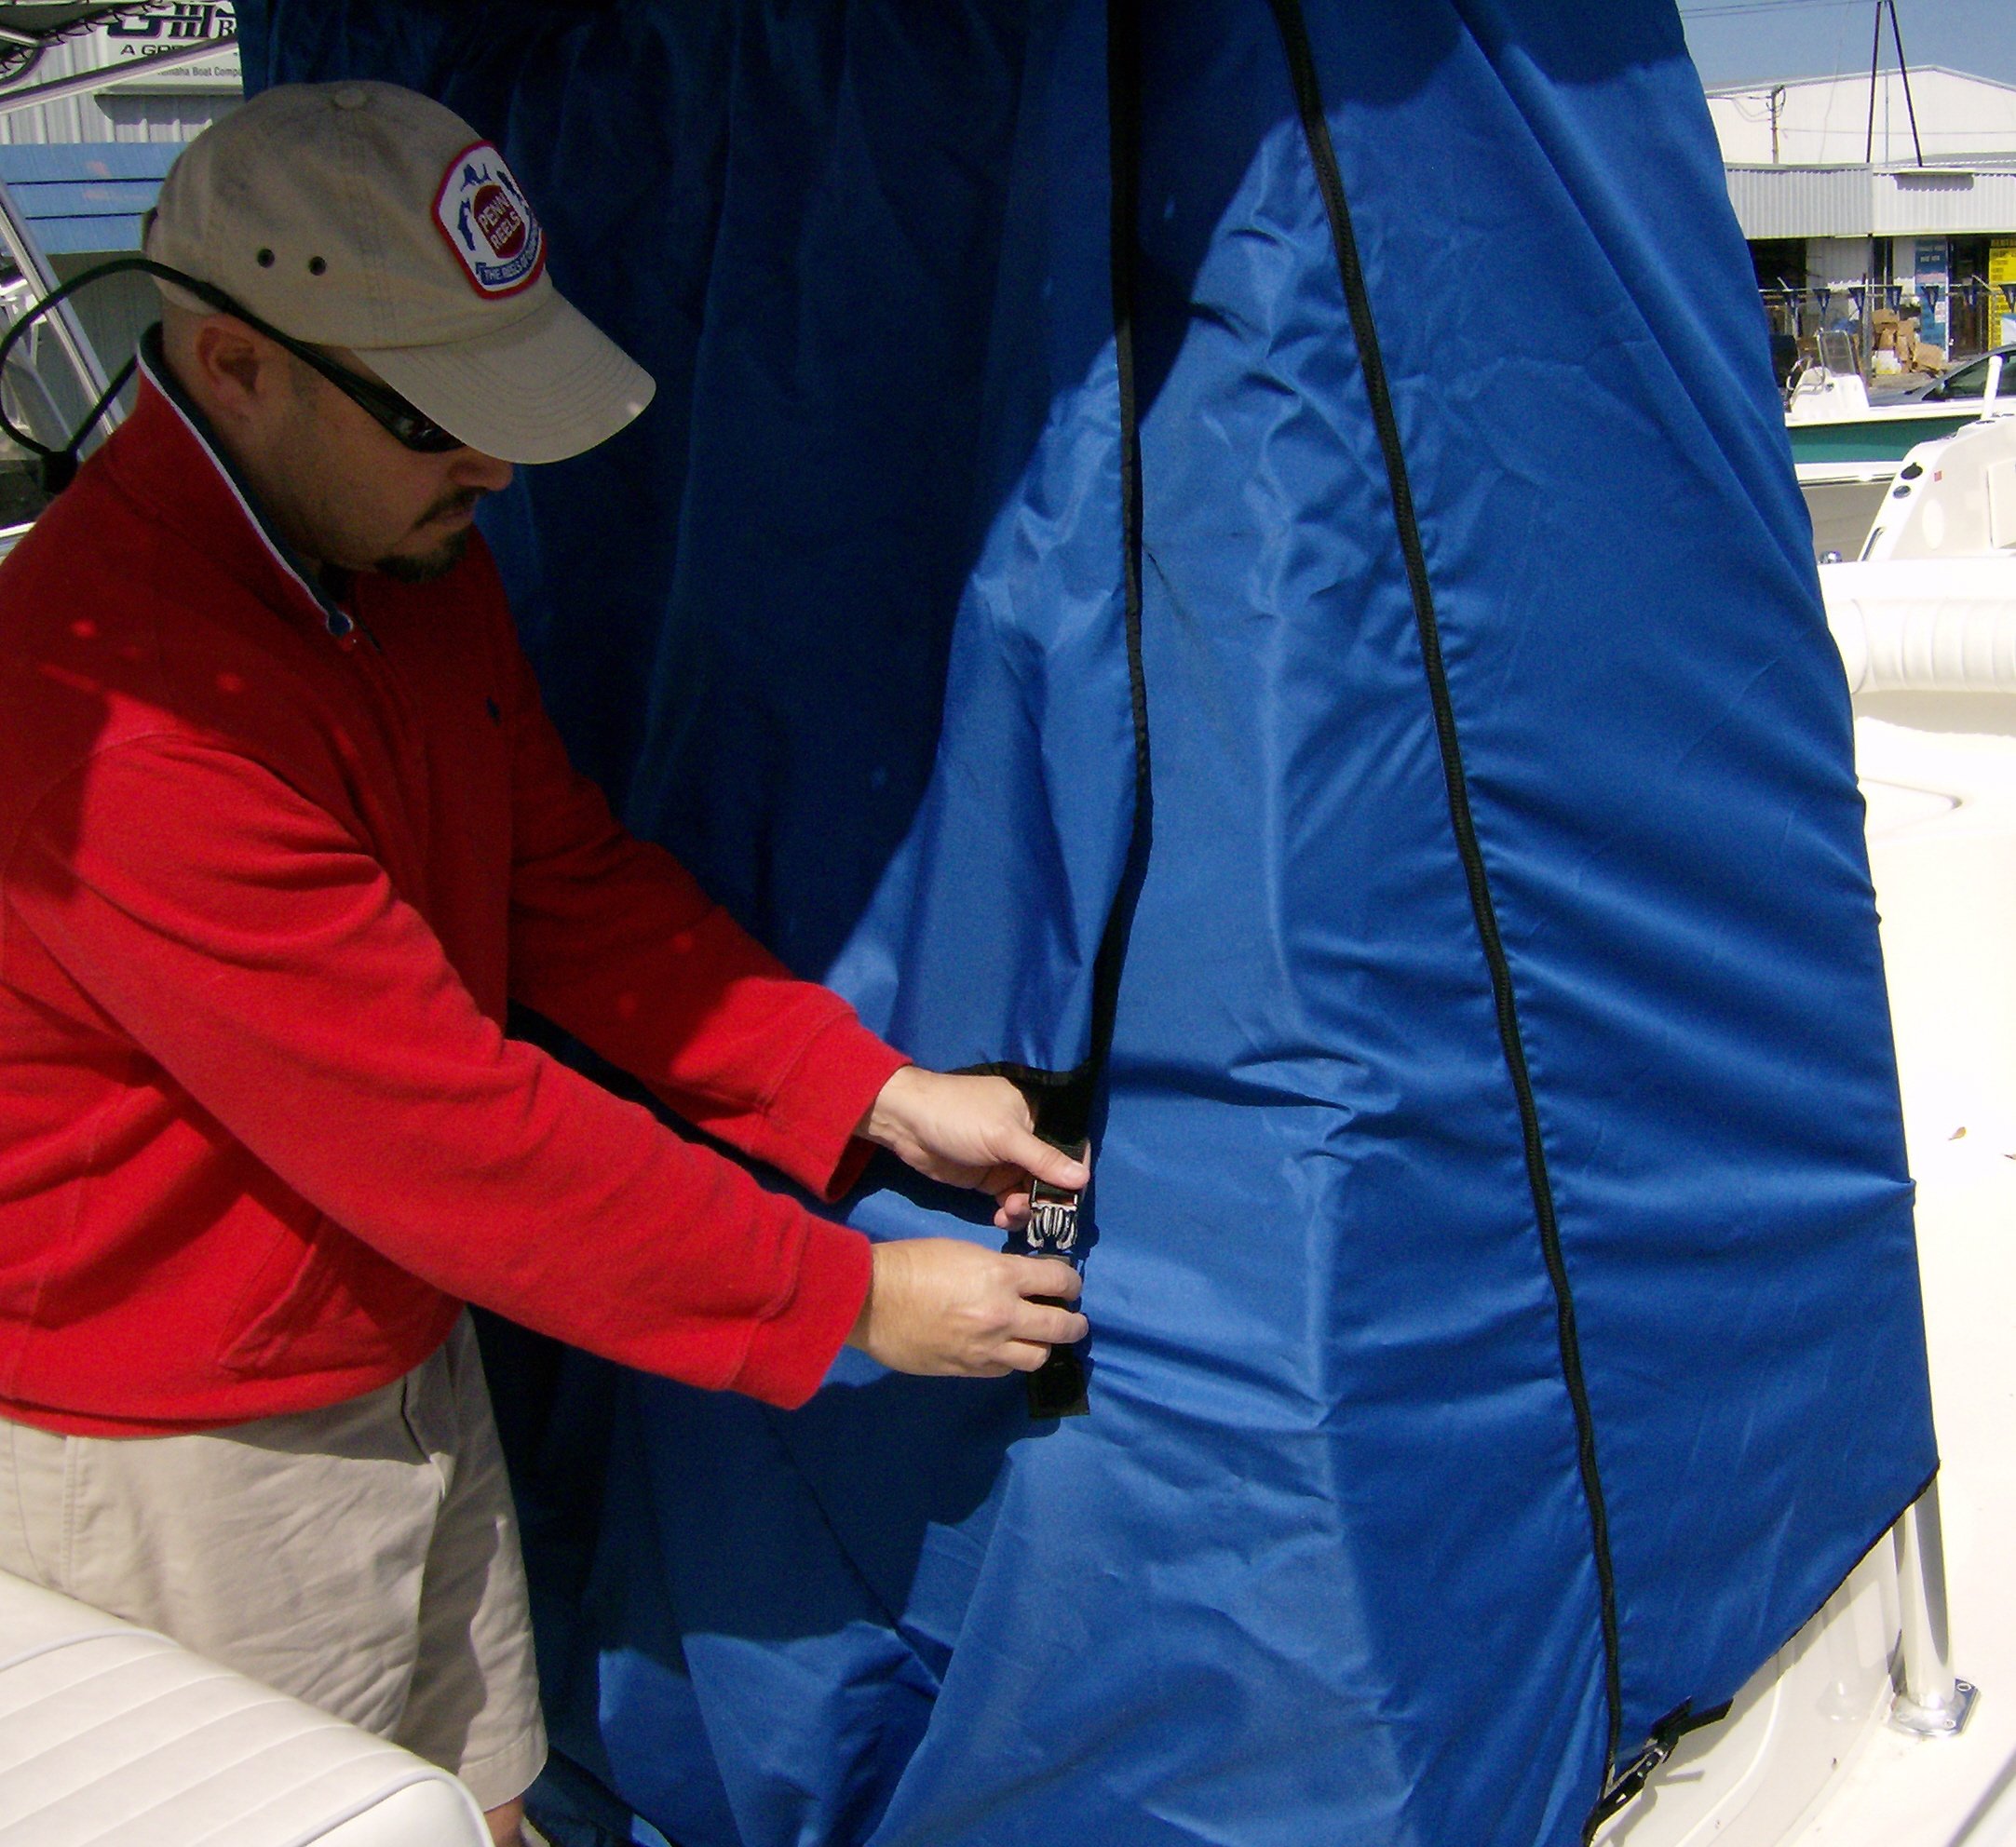
3. WRAP AND ZIP. Once the 2 side panels are hung from the T-Top structure, the T-Top Console Cover will fully wraparound the T-Top
supports, the console, and (on smaller boats), the rear helm seats. When fully wrapped around the T-Top, console and seats, you secure the
wrap with two snap buckles and the cover zipper. The cover zips together from top to bottom securing the wrap. The snap lock buckles at the
top and bottom of the zipper eliminates any stress on the zipper.


4. INSTALL AND SNAP THE FRONT SNAP BUTTONS.
Assuming you are satisfied that the T-Top Console Cover position is satisfactory and that the T-Top Console Cover is hung at the right height,
(note the two sewn in female snaps at the base of the front section). The cover includes two male snaps. Mark the position of the two female snaps
and install the two male snaps to secure the front of the T-Top Console Cover.
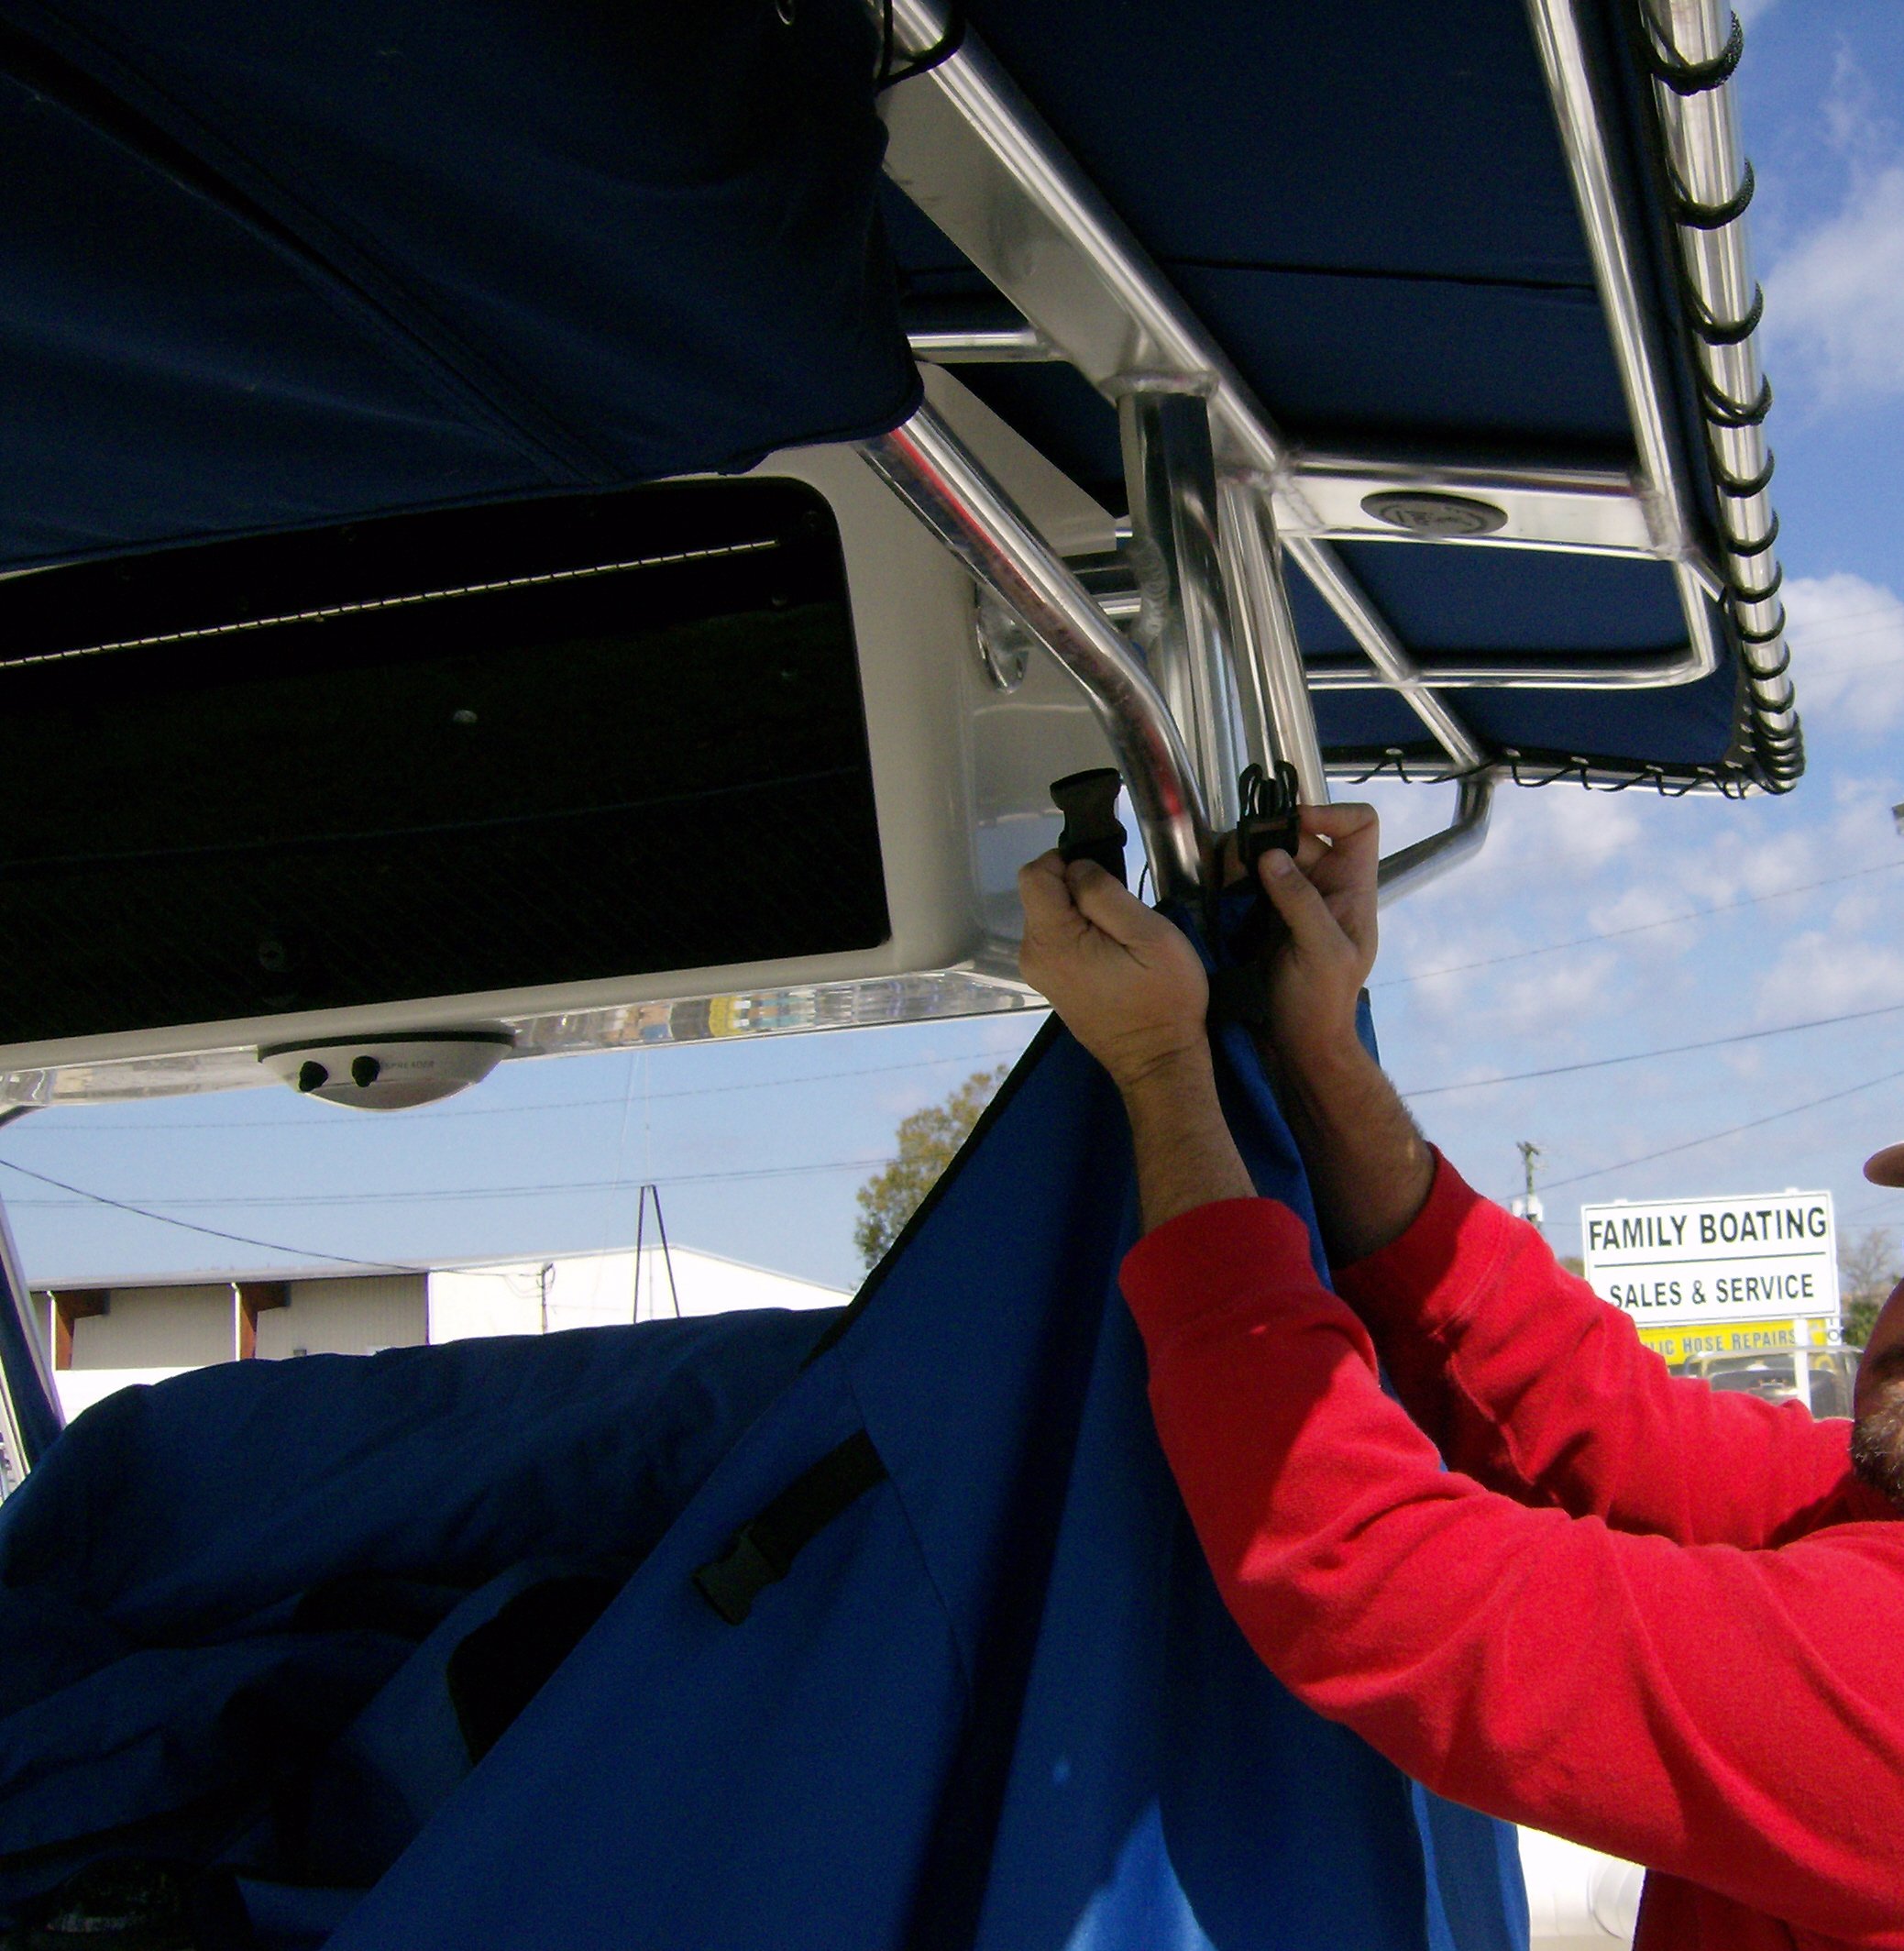
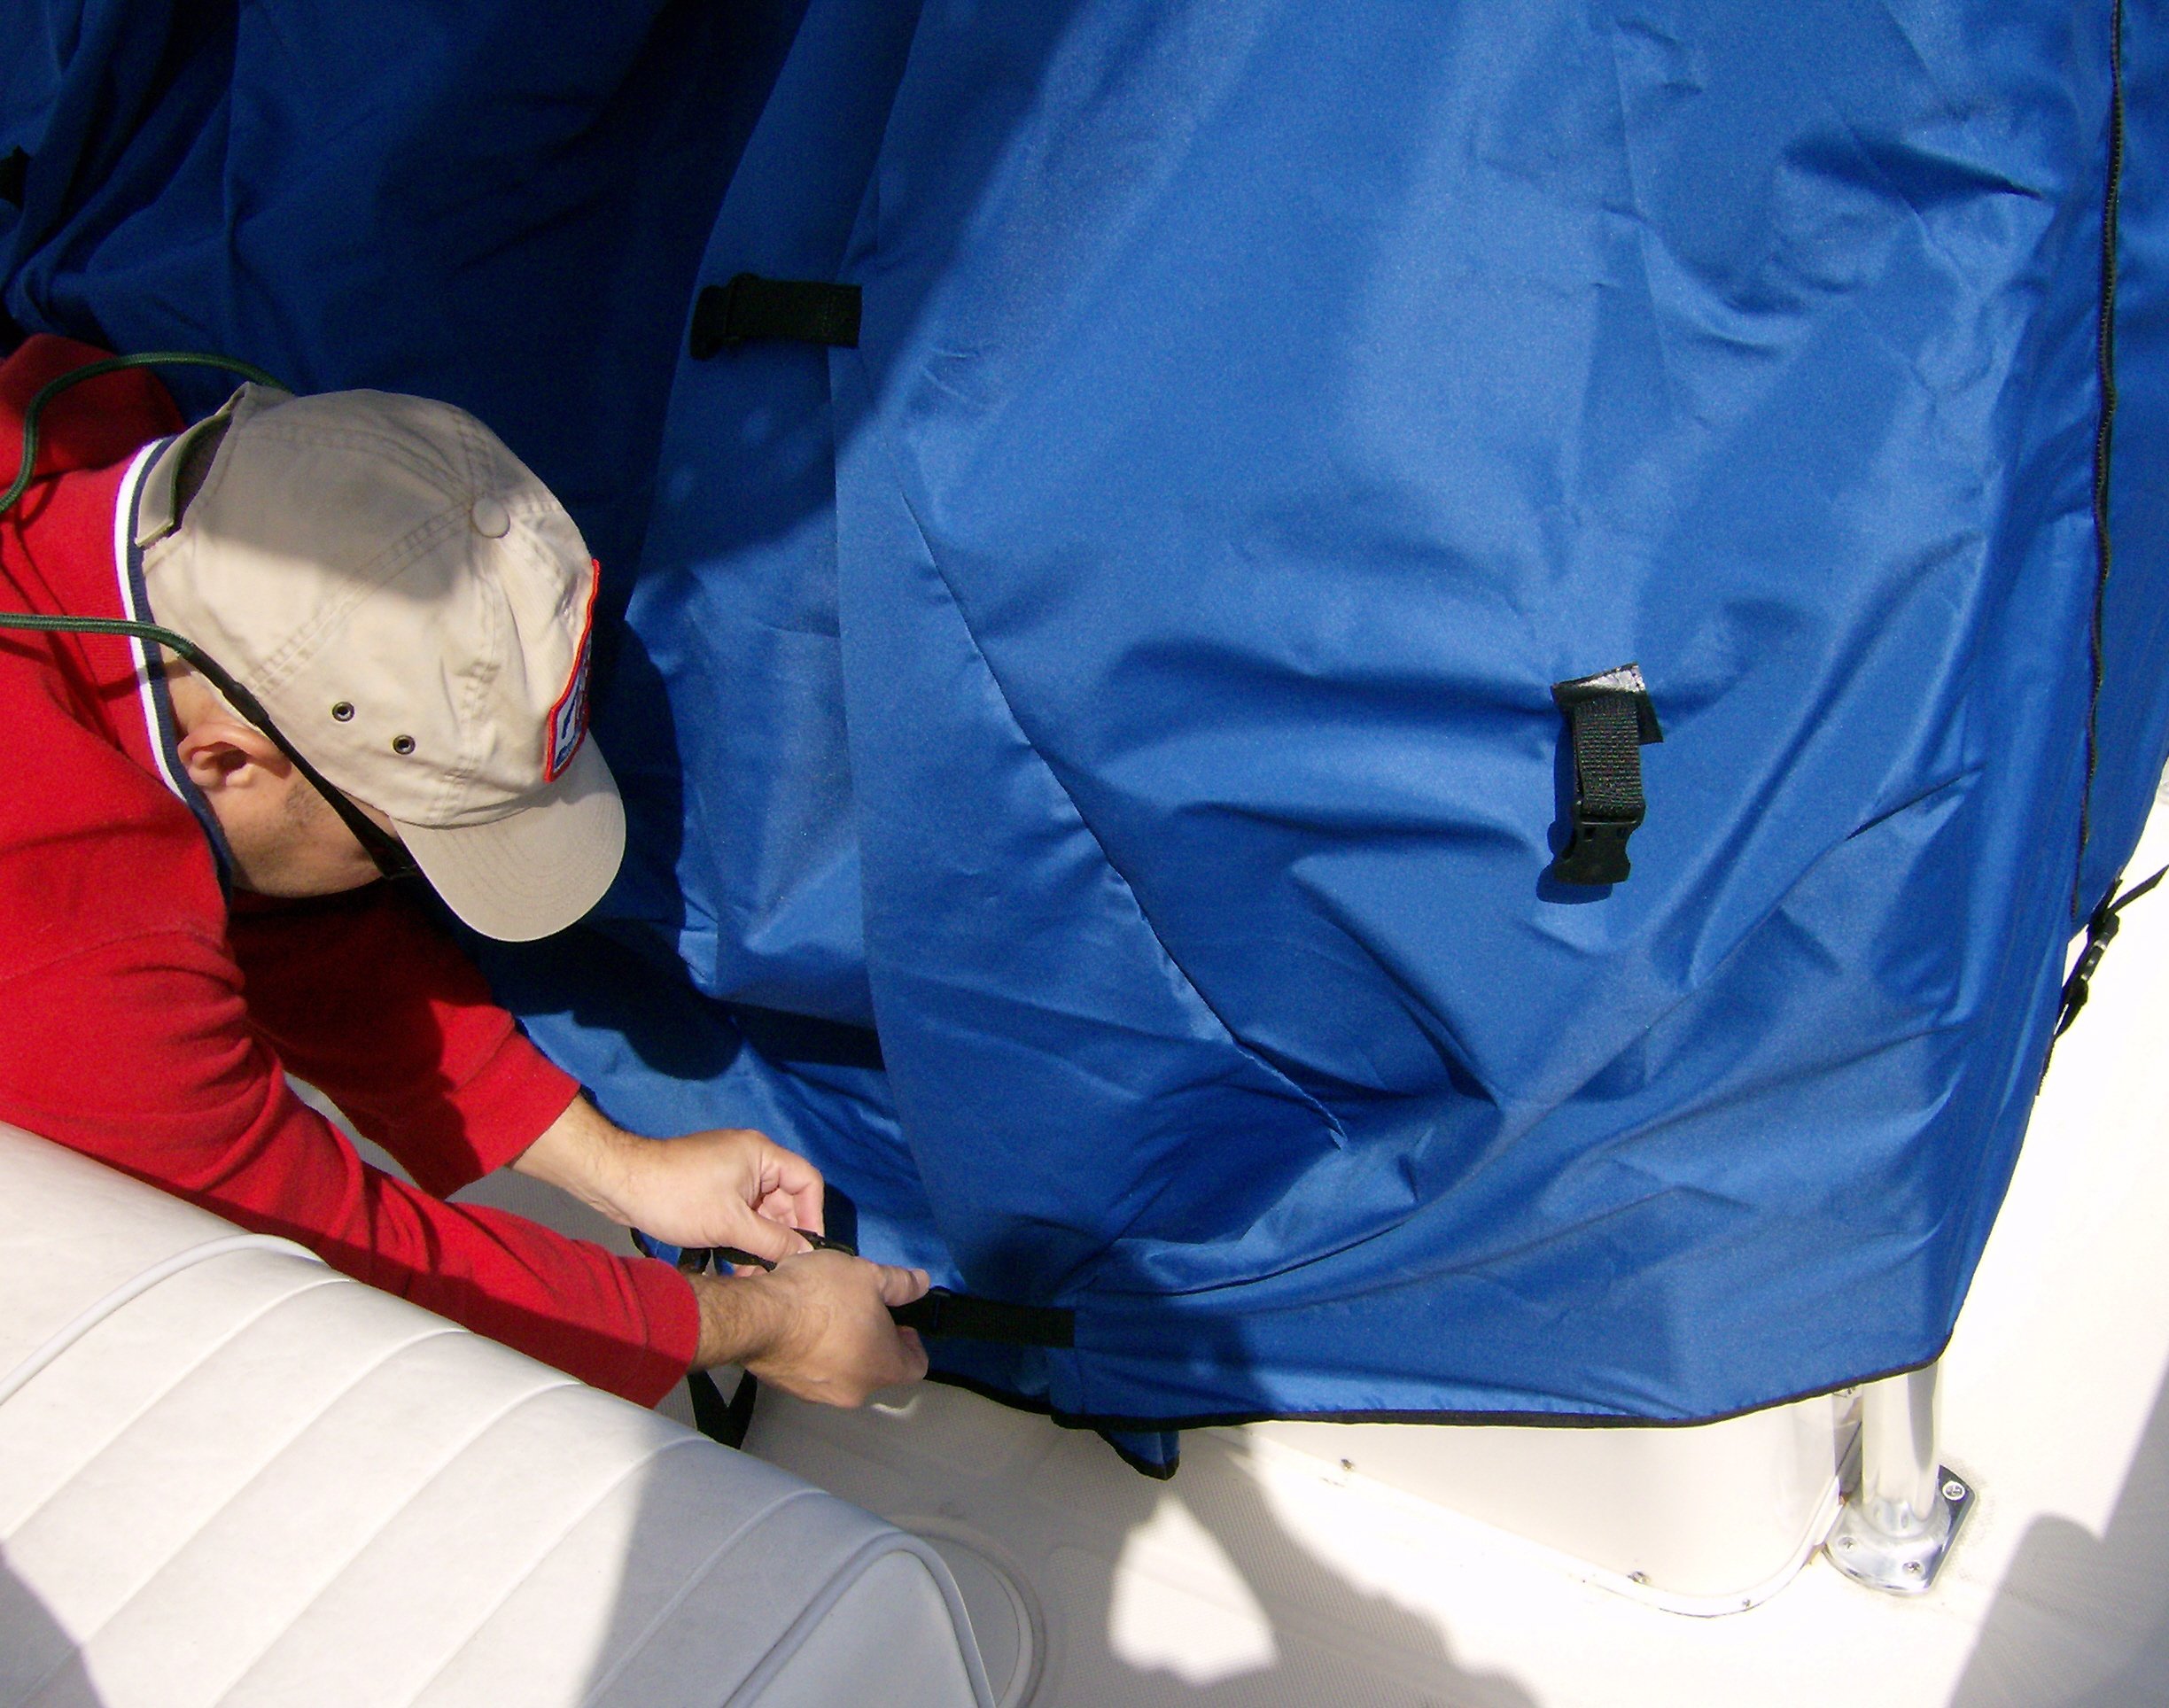
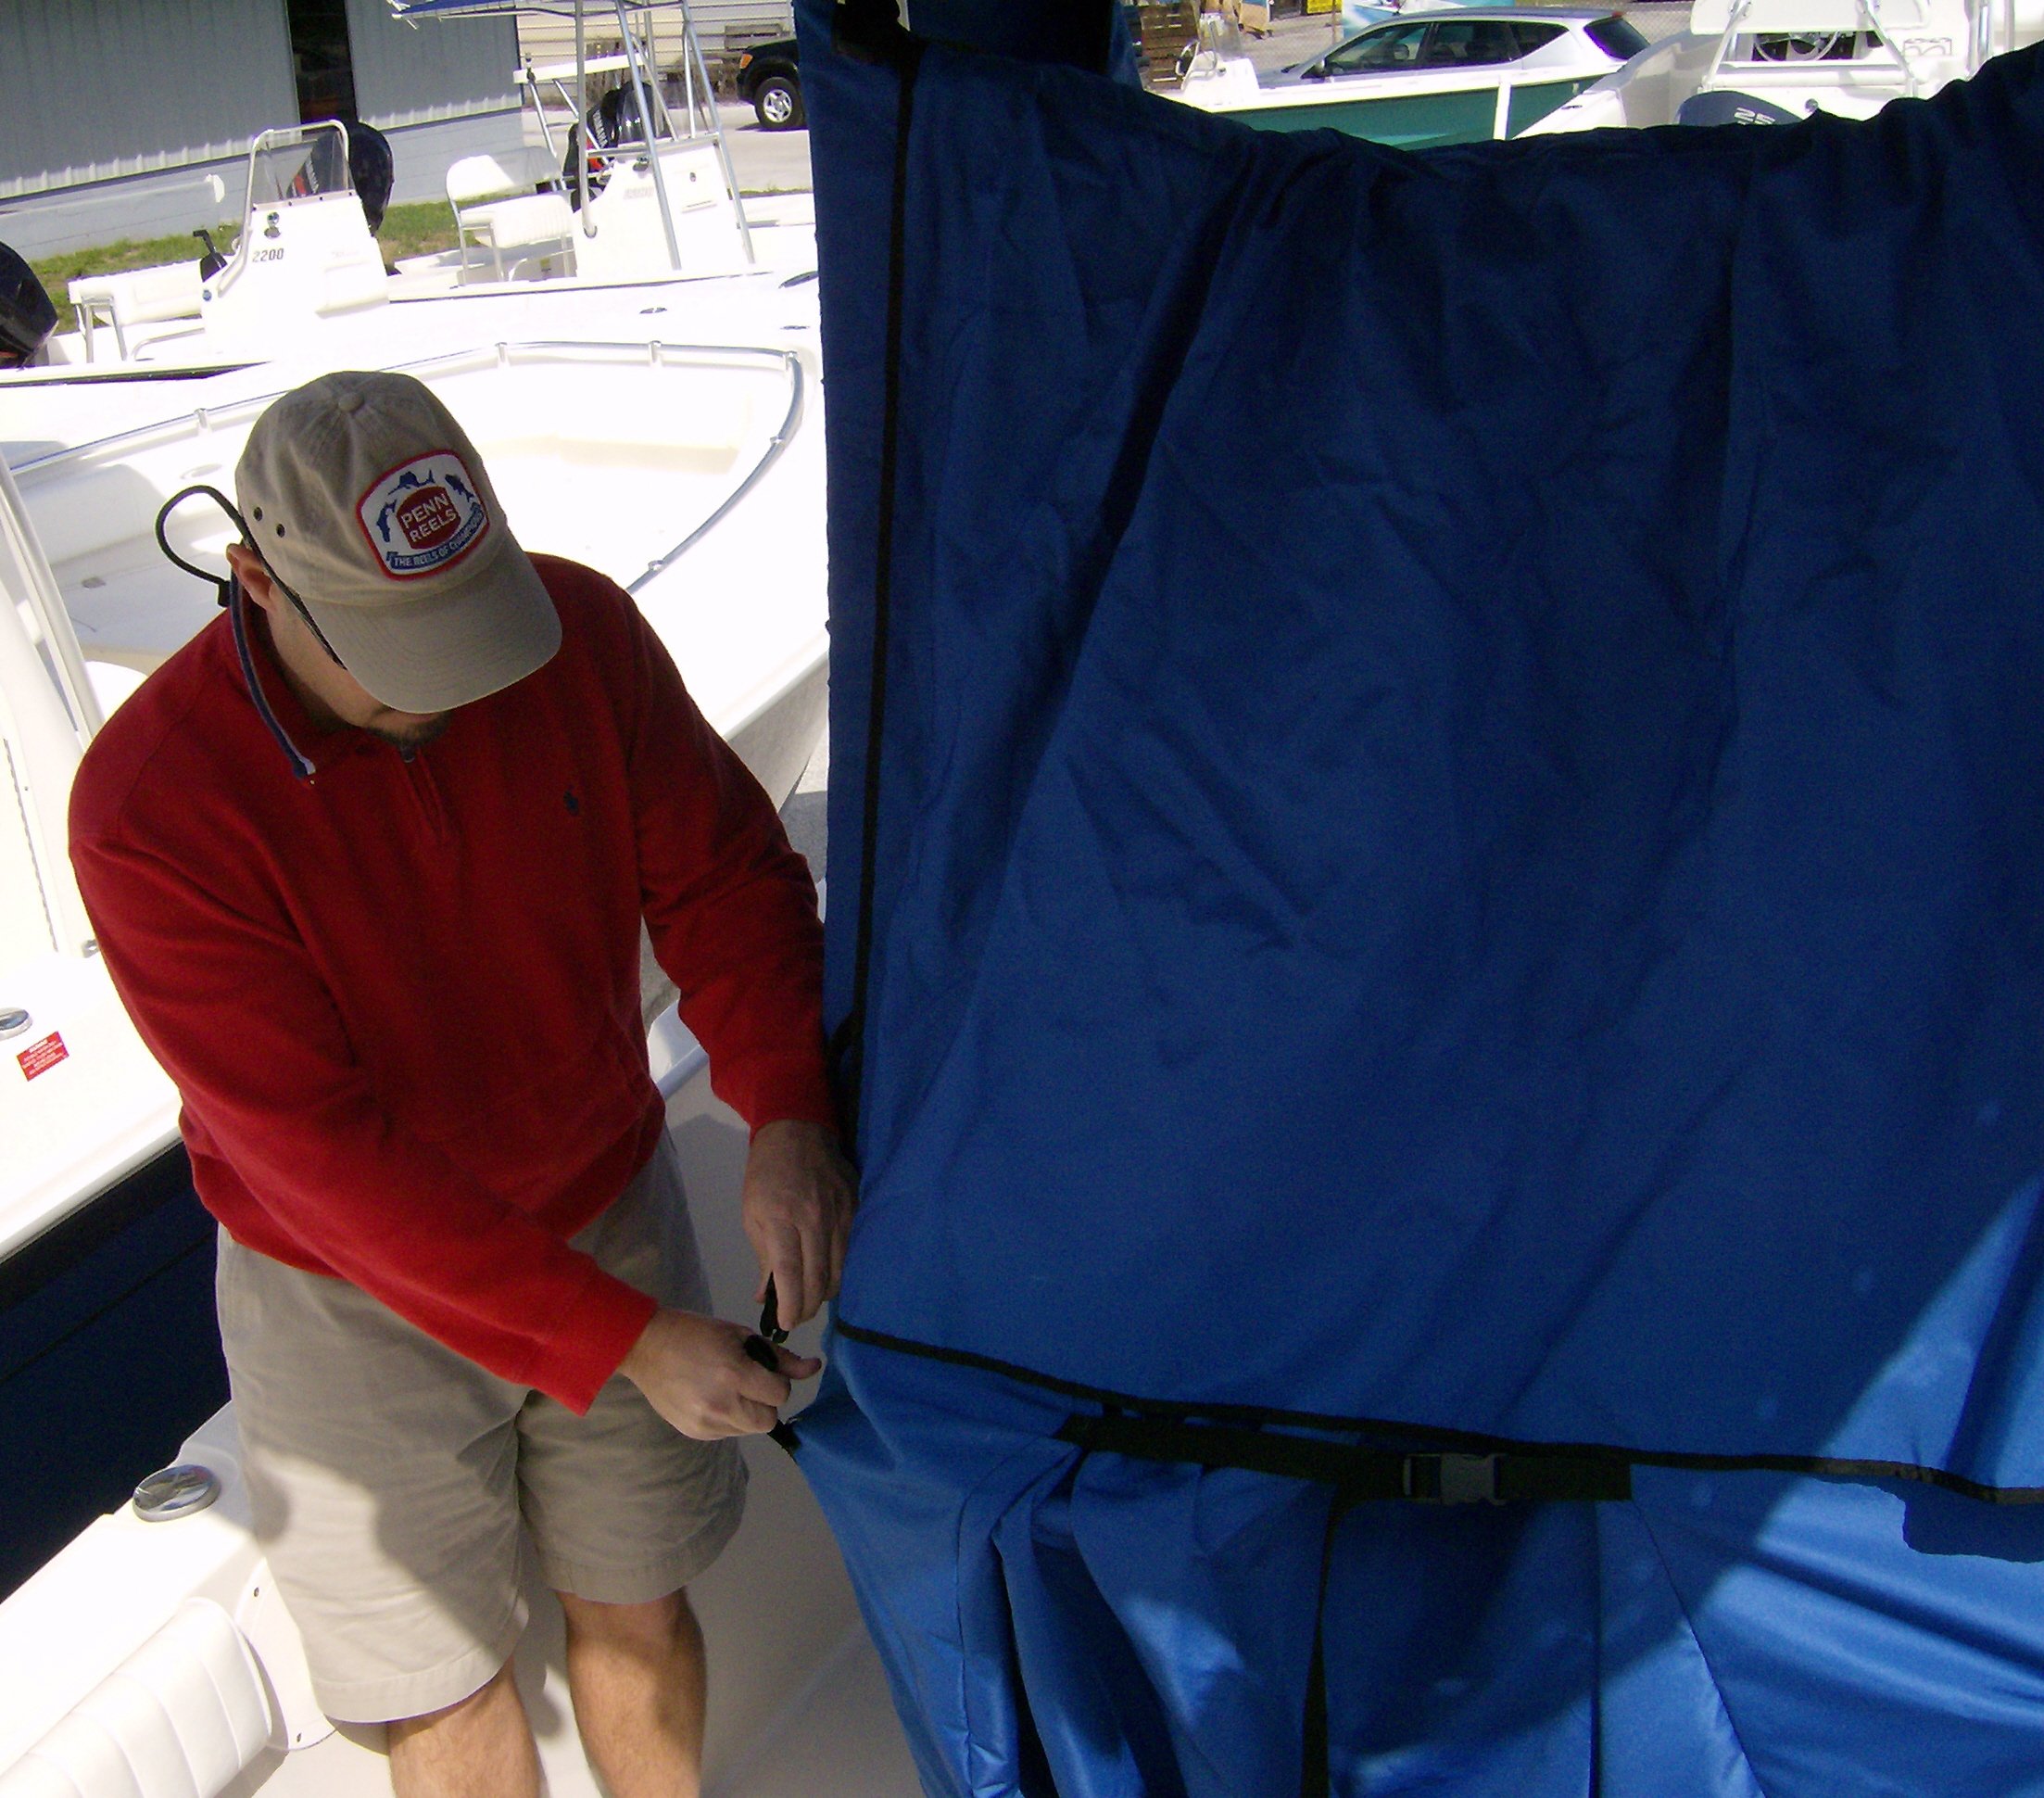
5. TIGHTEN YOUR BACKSIDE STRAPS. Once the T-Top Console Cover is wrapped,zipped, and snapped in front, the 3 straps at the back
side of he cover are adjusted to tighten and fit individual T-Top console and helm seat combinations. The straps bunch any excess cover material
on the back side of the cover. At your option, two auxiliary grommets found at the base of the back panel can be used to secure the back side of the
cover. Once adjusted for your console, helm seat and T-Top support combination, the back side straps simply snap together for subsequent use.


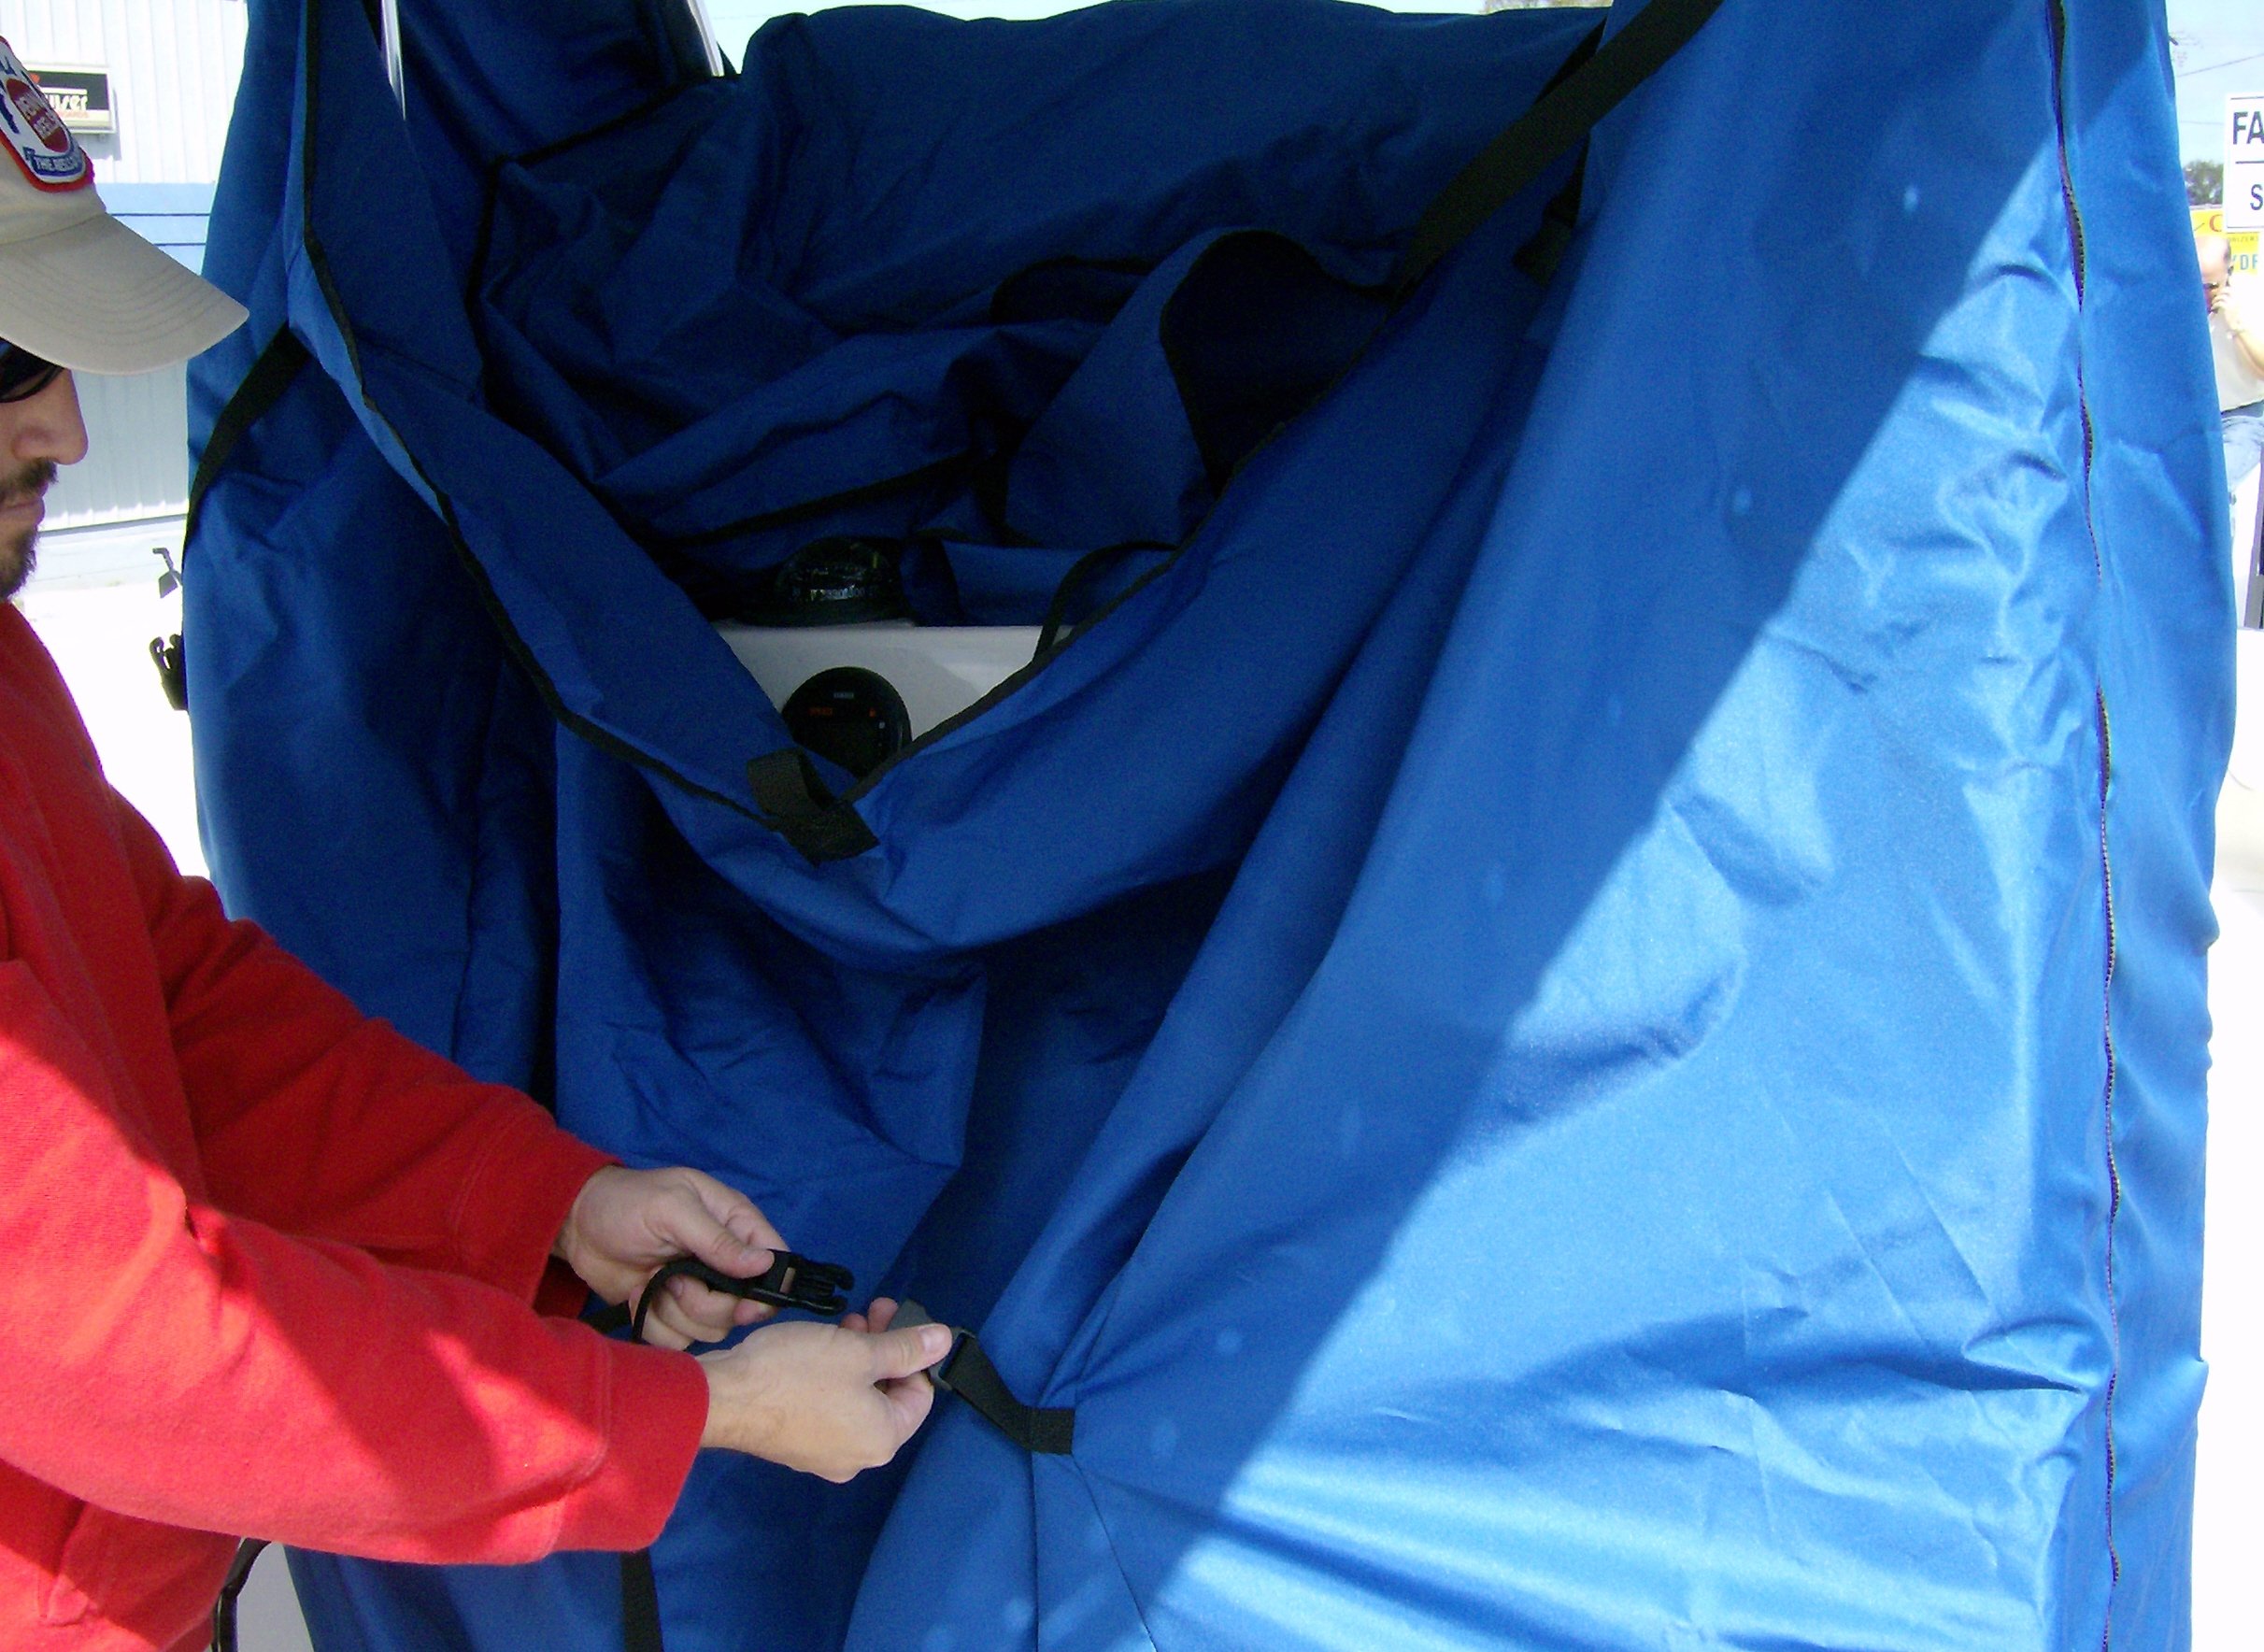
6. START WITH THE BASE STRAP. Adjust the strap to tighten the wrapped cover at the base. Next adjust the middle strap to tighten the
mid-area of the T-Top Console Cover. Then the top strap is passed through a loop at the top back side of the T-Top Console Cover and then it is
snapped and adjusted to tighten the top side of the cover.


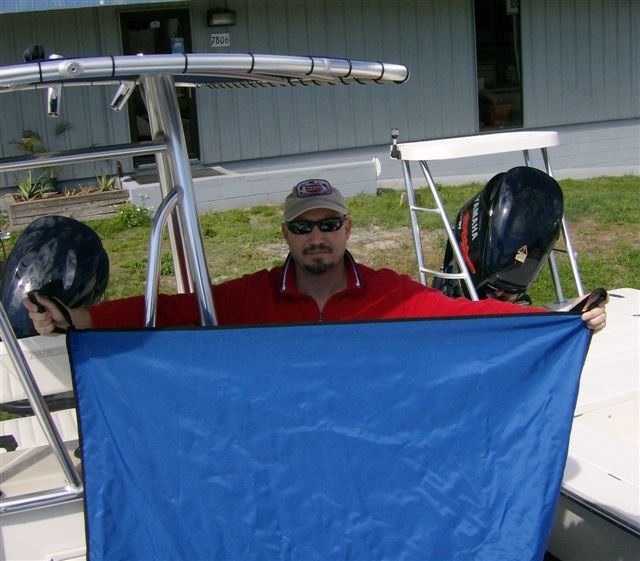
7. POSITION AND SECURE THE PROTECTIVE WEATHER FLAP. The T-Top Console Cover has a protective weather flap at the front
side of the cover. It goes over the windshield hand rail between the vertical T-Top supports to cover and protect the open side area of the console
between the supports. Both weather flap corners have adjustable snap lock straps and the cover has a snap lock buckle sewn in on both sides of
the cover. Adjust the straps just enough to secure the weather flap in position without pulling the base of the T-Top Console Cover up from the deck.
8. TO REMOVE. Unsnap the two snap lock weather flap buckles and pull the flap to the front, out of the way. Unsnap the two snap buttons
at the front of the cover. Unsnap the two snap locks at the top and bottom of the zipper and fully unzip the wrapped cover. Finally, unsnap the two snap
lock straps that hang the cover from the T-Top frame. The cover will fully release and can be folded and stored in the storage bag.
9. TO REDEPLOY. Re-hang the cover, snap the two zipper buckles and re-zip. Re-snap the front snap buttons, rebuckle all remaining snap
locks, reposition and re-secure the protective weather flap.